
Tags
cedar pergola, charring wood, landscaspe design, Ravenscourt Landscaping & Design LLC, shou sugi ban, wood finishing, Yakisugi
We recently tried something new that we had seen on TV. It seemed an interesting treatment for one of our cedar pergolas.
Yakisugi (焼杉) is a traditional Japanese method of wood preservation. Yaki means to heat with fire, and sugi is cypress.[1][2] It is referred to in the West as burnt timber cladding and also known as shou sugi ban (焼杉板) which uses the same kanji characters but an incorrect pronunciation. The ban character means “plank“. By slightly charring the surface of the wood without combusting the whole piece, the wood becomes water-proof through the carbonisation and is thus more durable.[3][4] It also protects against insects, as well as making the wood fire retardant.[5] – Wikipedia
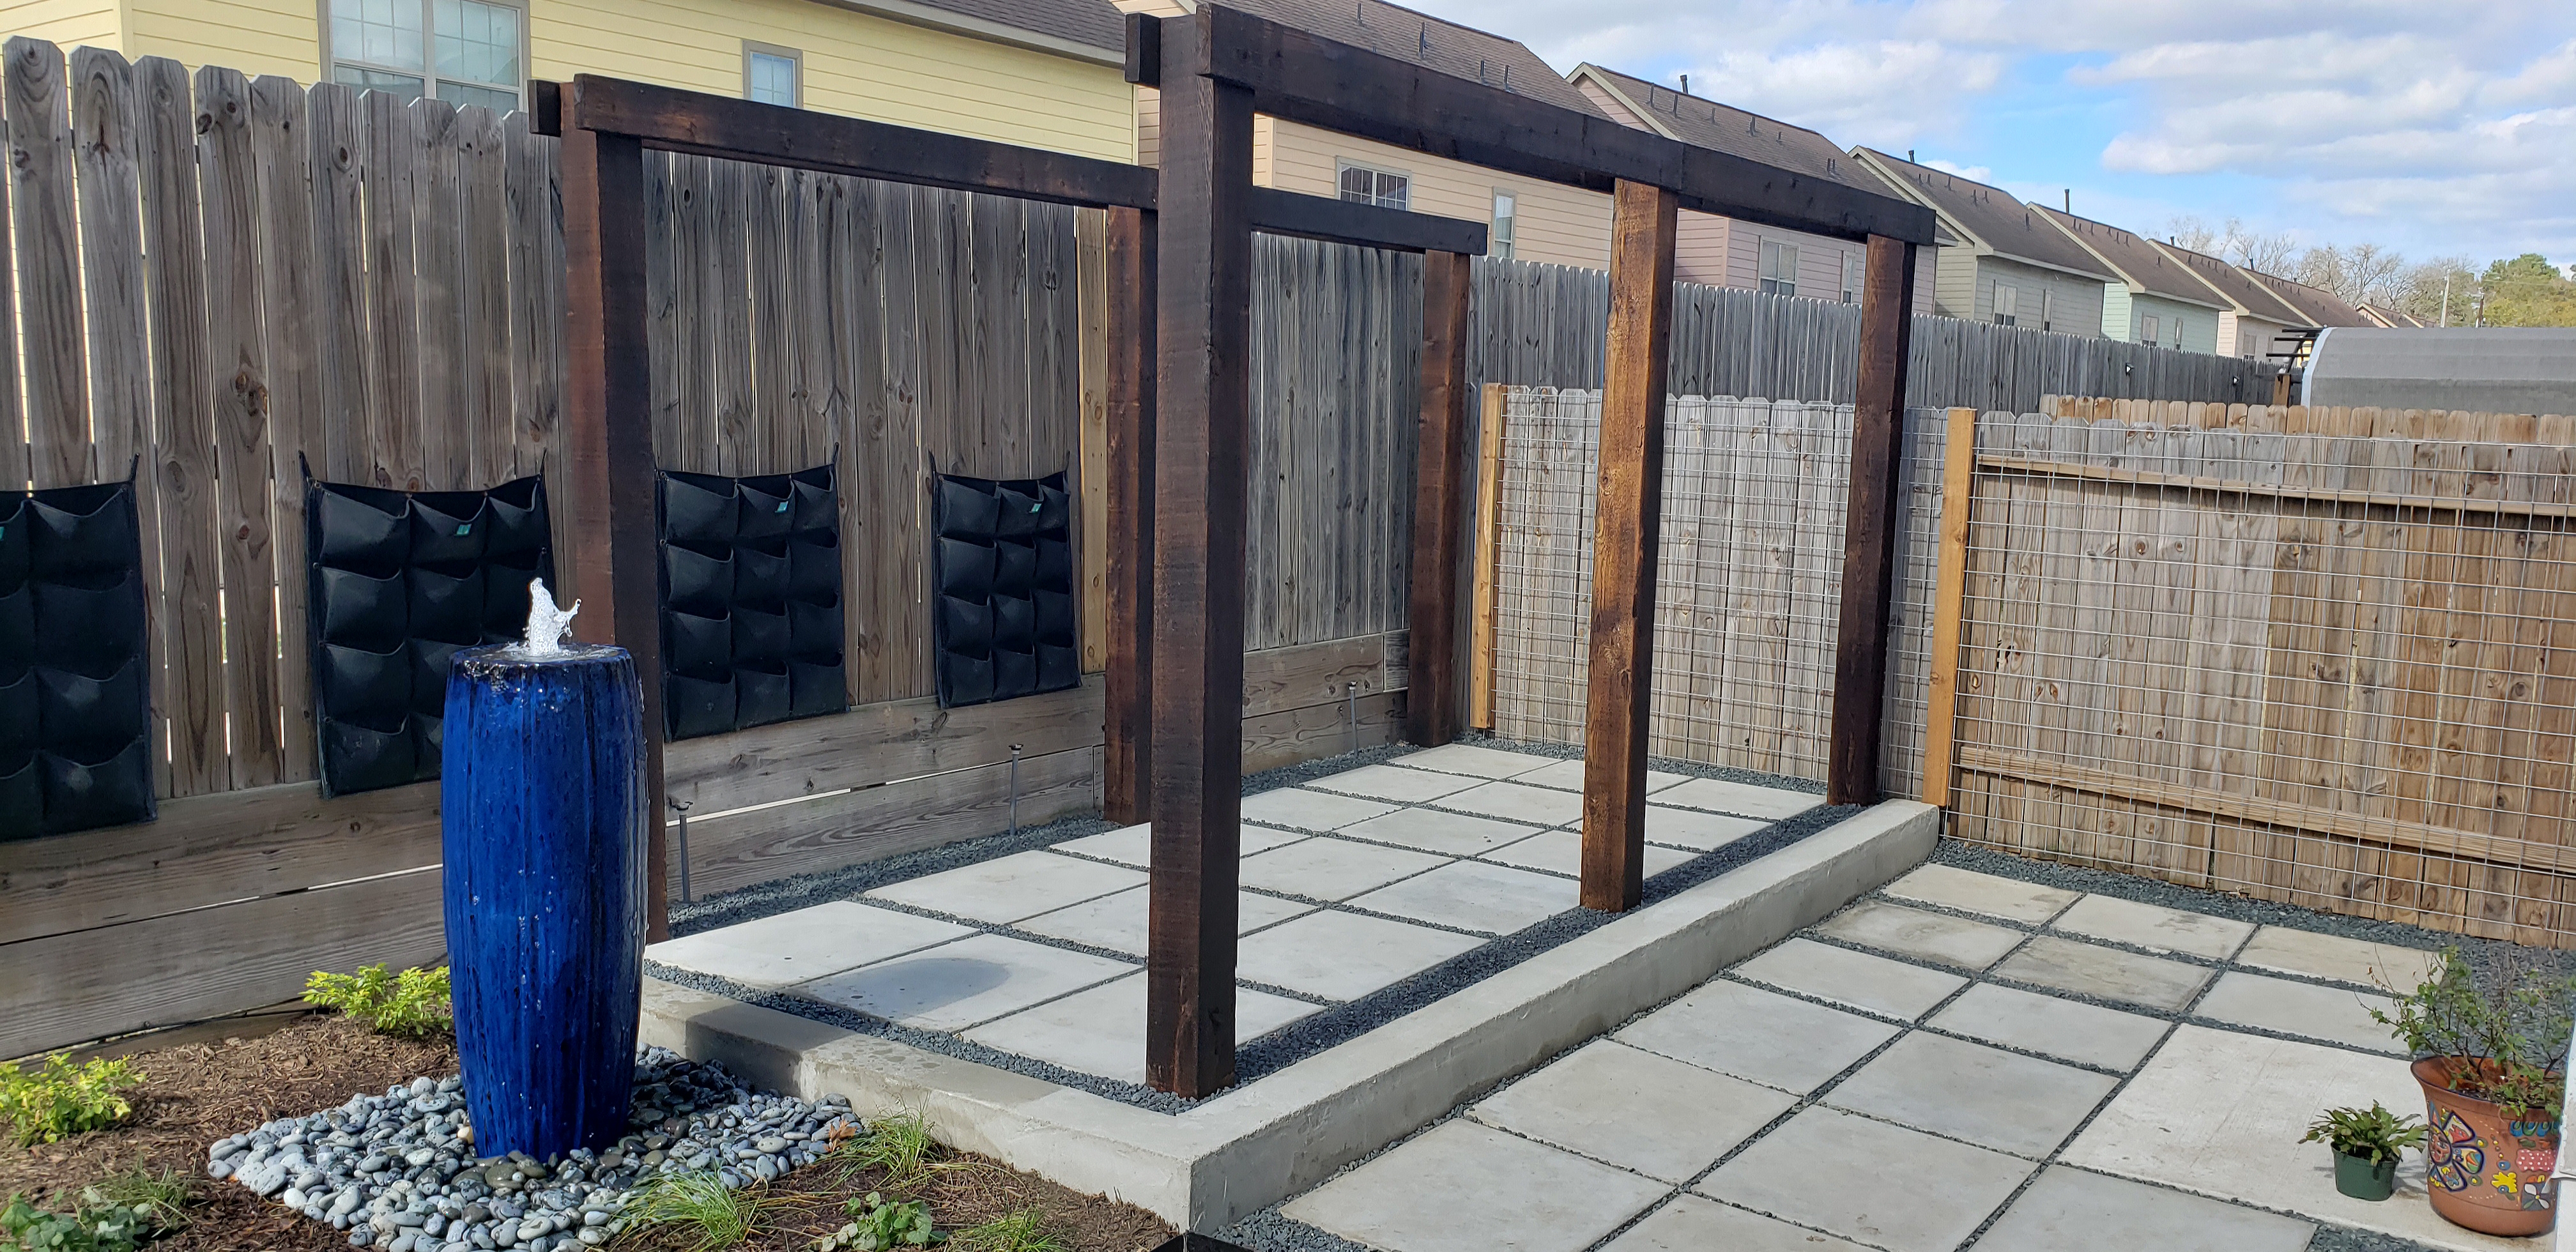

First we erected the pergola using cedar post. You will also notice that each post has its own distinct characteristics before we begin the process. Textures, shades and nicks unique to each post. The treatments accentuate the grains as well as the natural coloring. We are fortunate to be in a market where cedar posts (here 6″x6″) are somewhat readily available. Although, for the next project we had to look a bit harder to find the lumber we wanted.

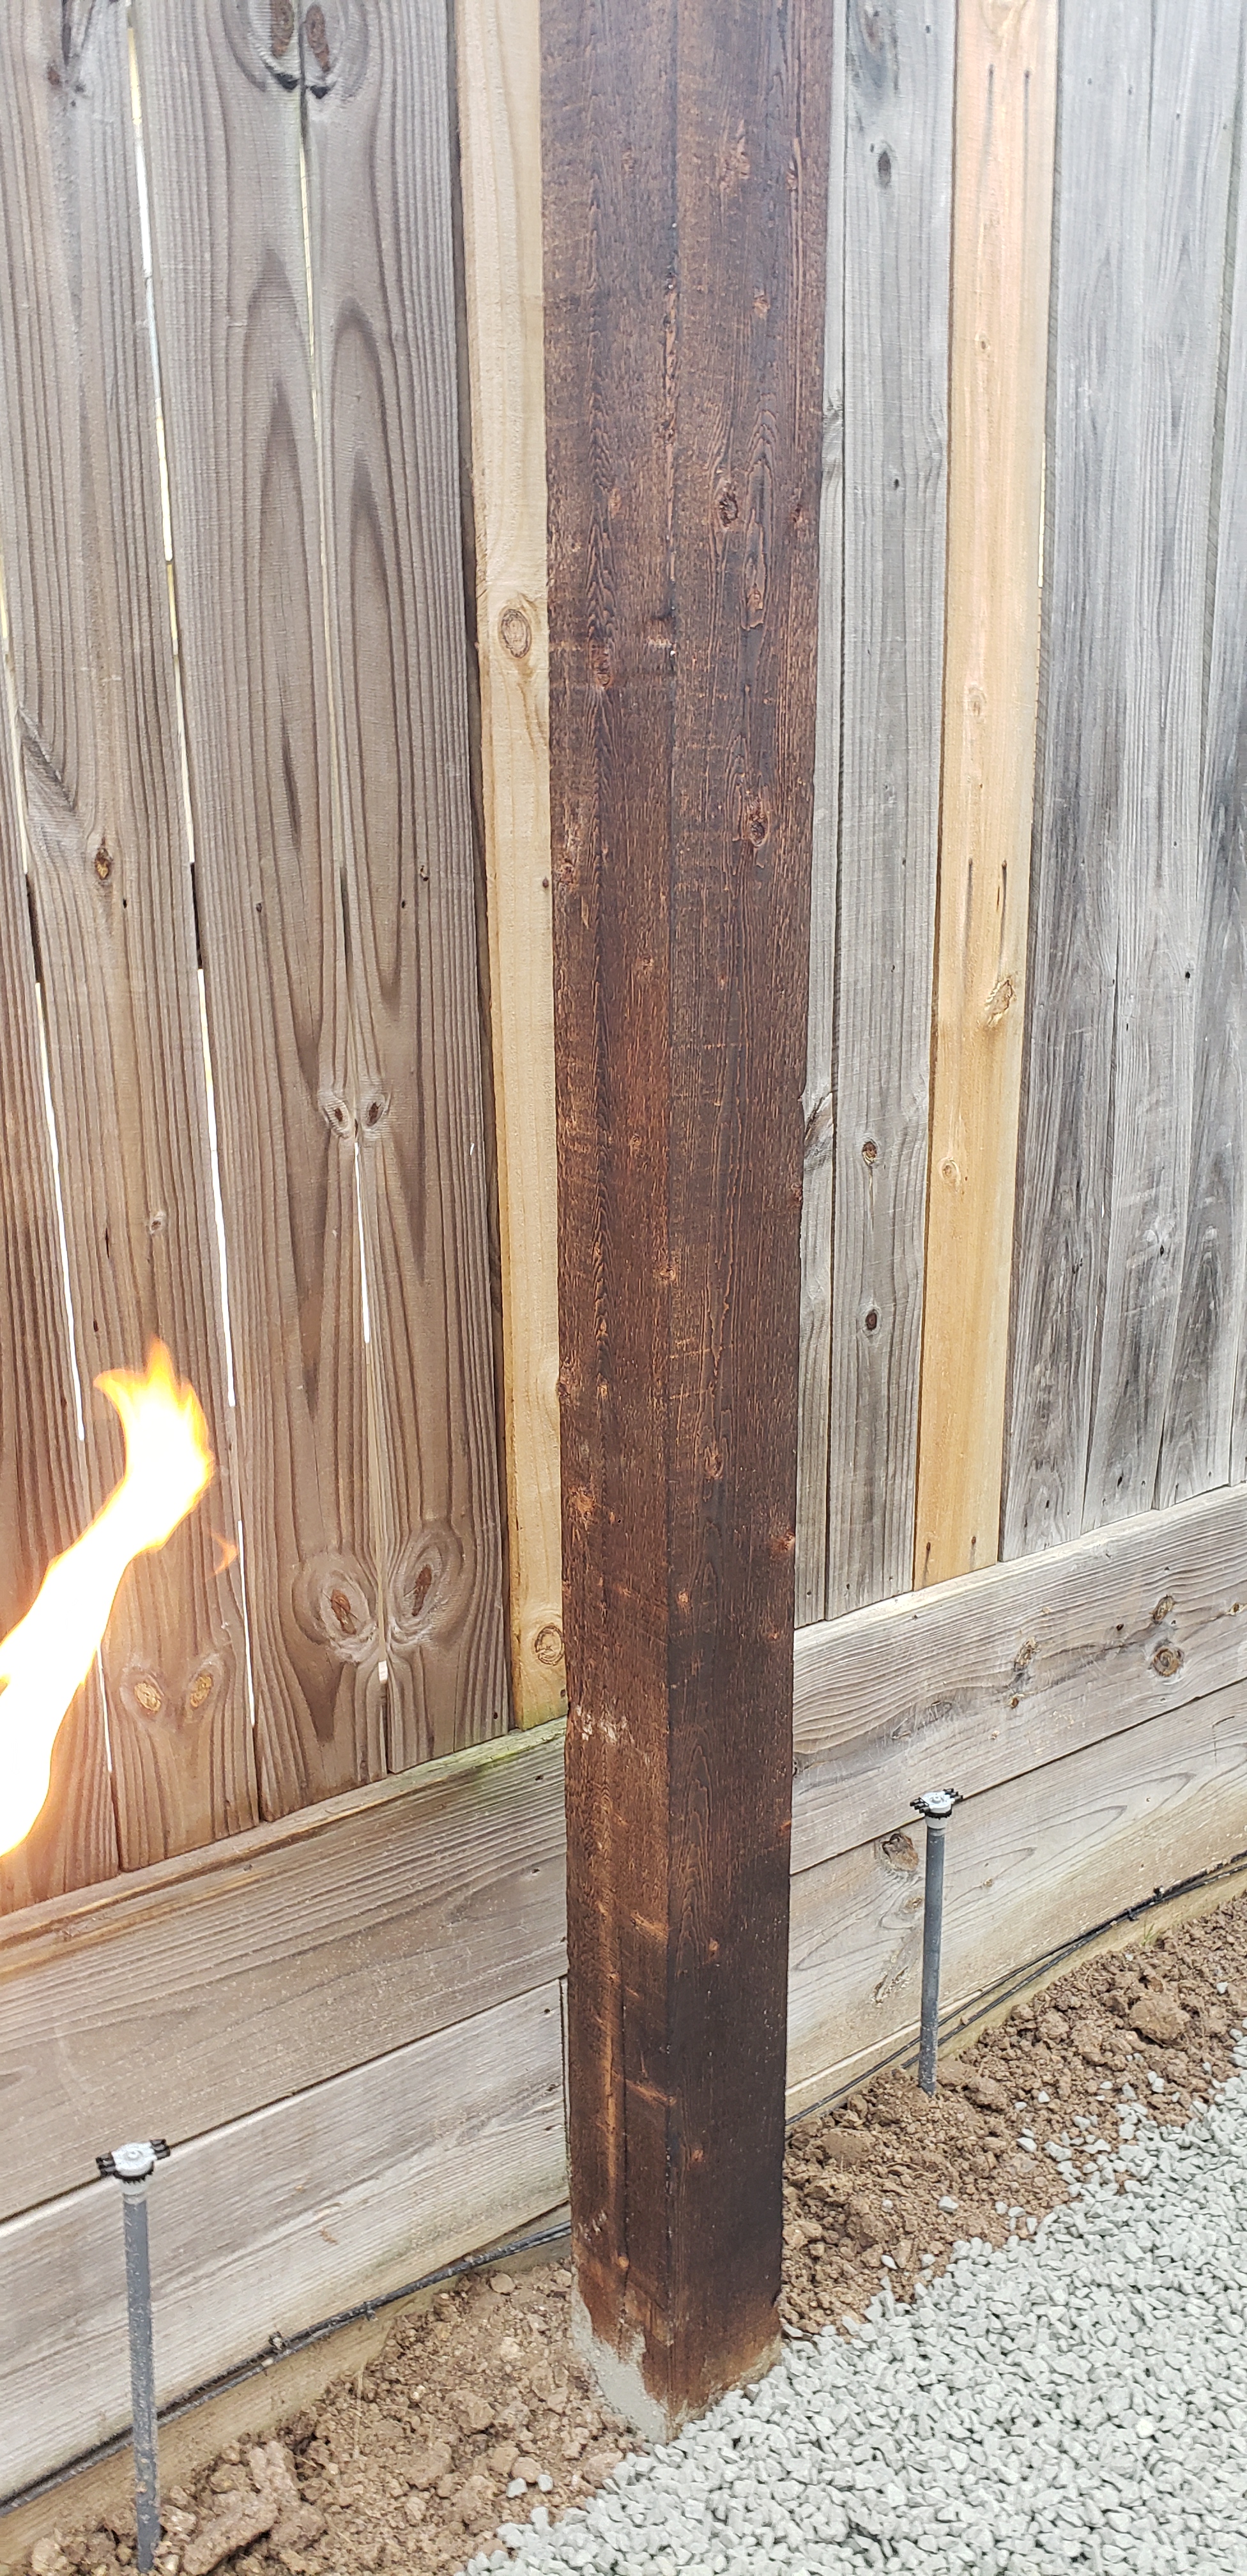
The middle post after having just charred one side. The contrast immediately evident. I was concerned that the burning would initiate a deeper burning in the wood which reduces the posts to cinders but while burning only the thinnest of shavings really burn away.
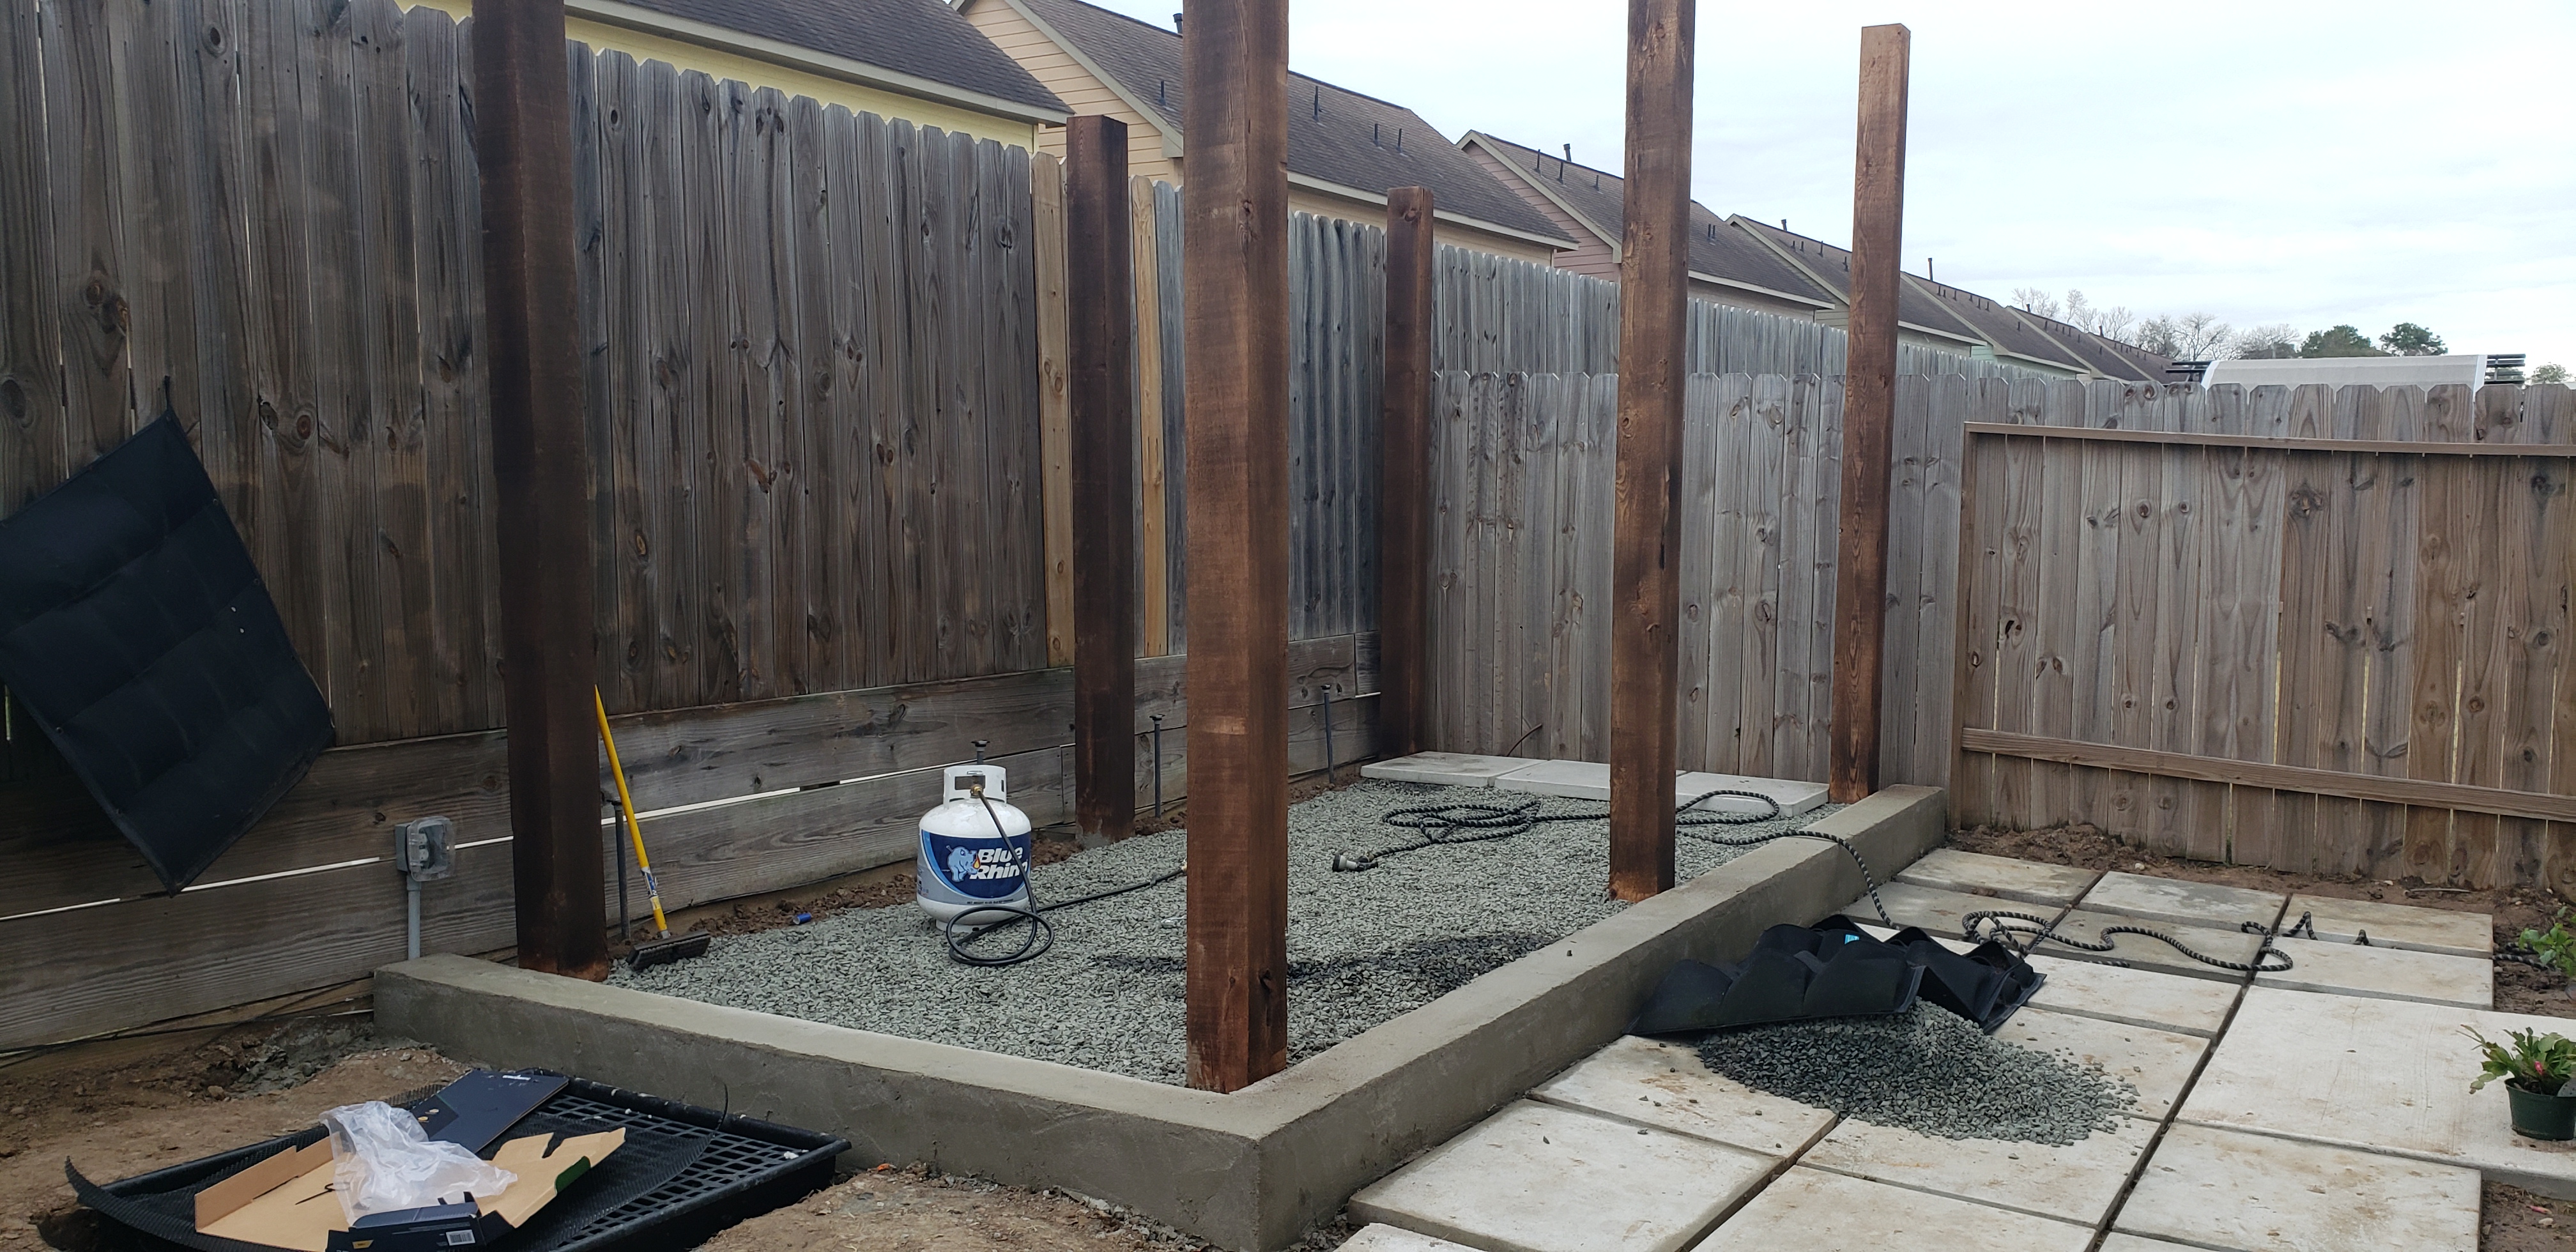
Before you start any projects be aware of any limitations/challenges you have. During the scope of this work we were working with open flame, a propane tank and being up on a ladder. It is much easier to limit the risks with good preparation but there are risks. I highly recommend preparing the posts before they are in the ground. And, very importantly, the wind was very still each day we burned. You may note in several of the photos a water hose is very close at hand.
After applying quite a bit of heat I found the posts very resilient. Burning the back sides of the posts (near the fence), while on a ladder, takes much more concentration than the cross-beams while standing on the ground. Again, the entire process is much easier when the lumber is on the ground.
Here the posts have all been charred and freshly brushed to remove any loose materials. We used a stiff-ish bristled brush on a pole. You want to have bristles that are pliable enough not to score the wood while still resilient enough to knock off the burnt sections.
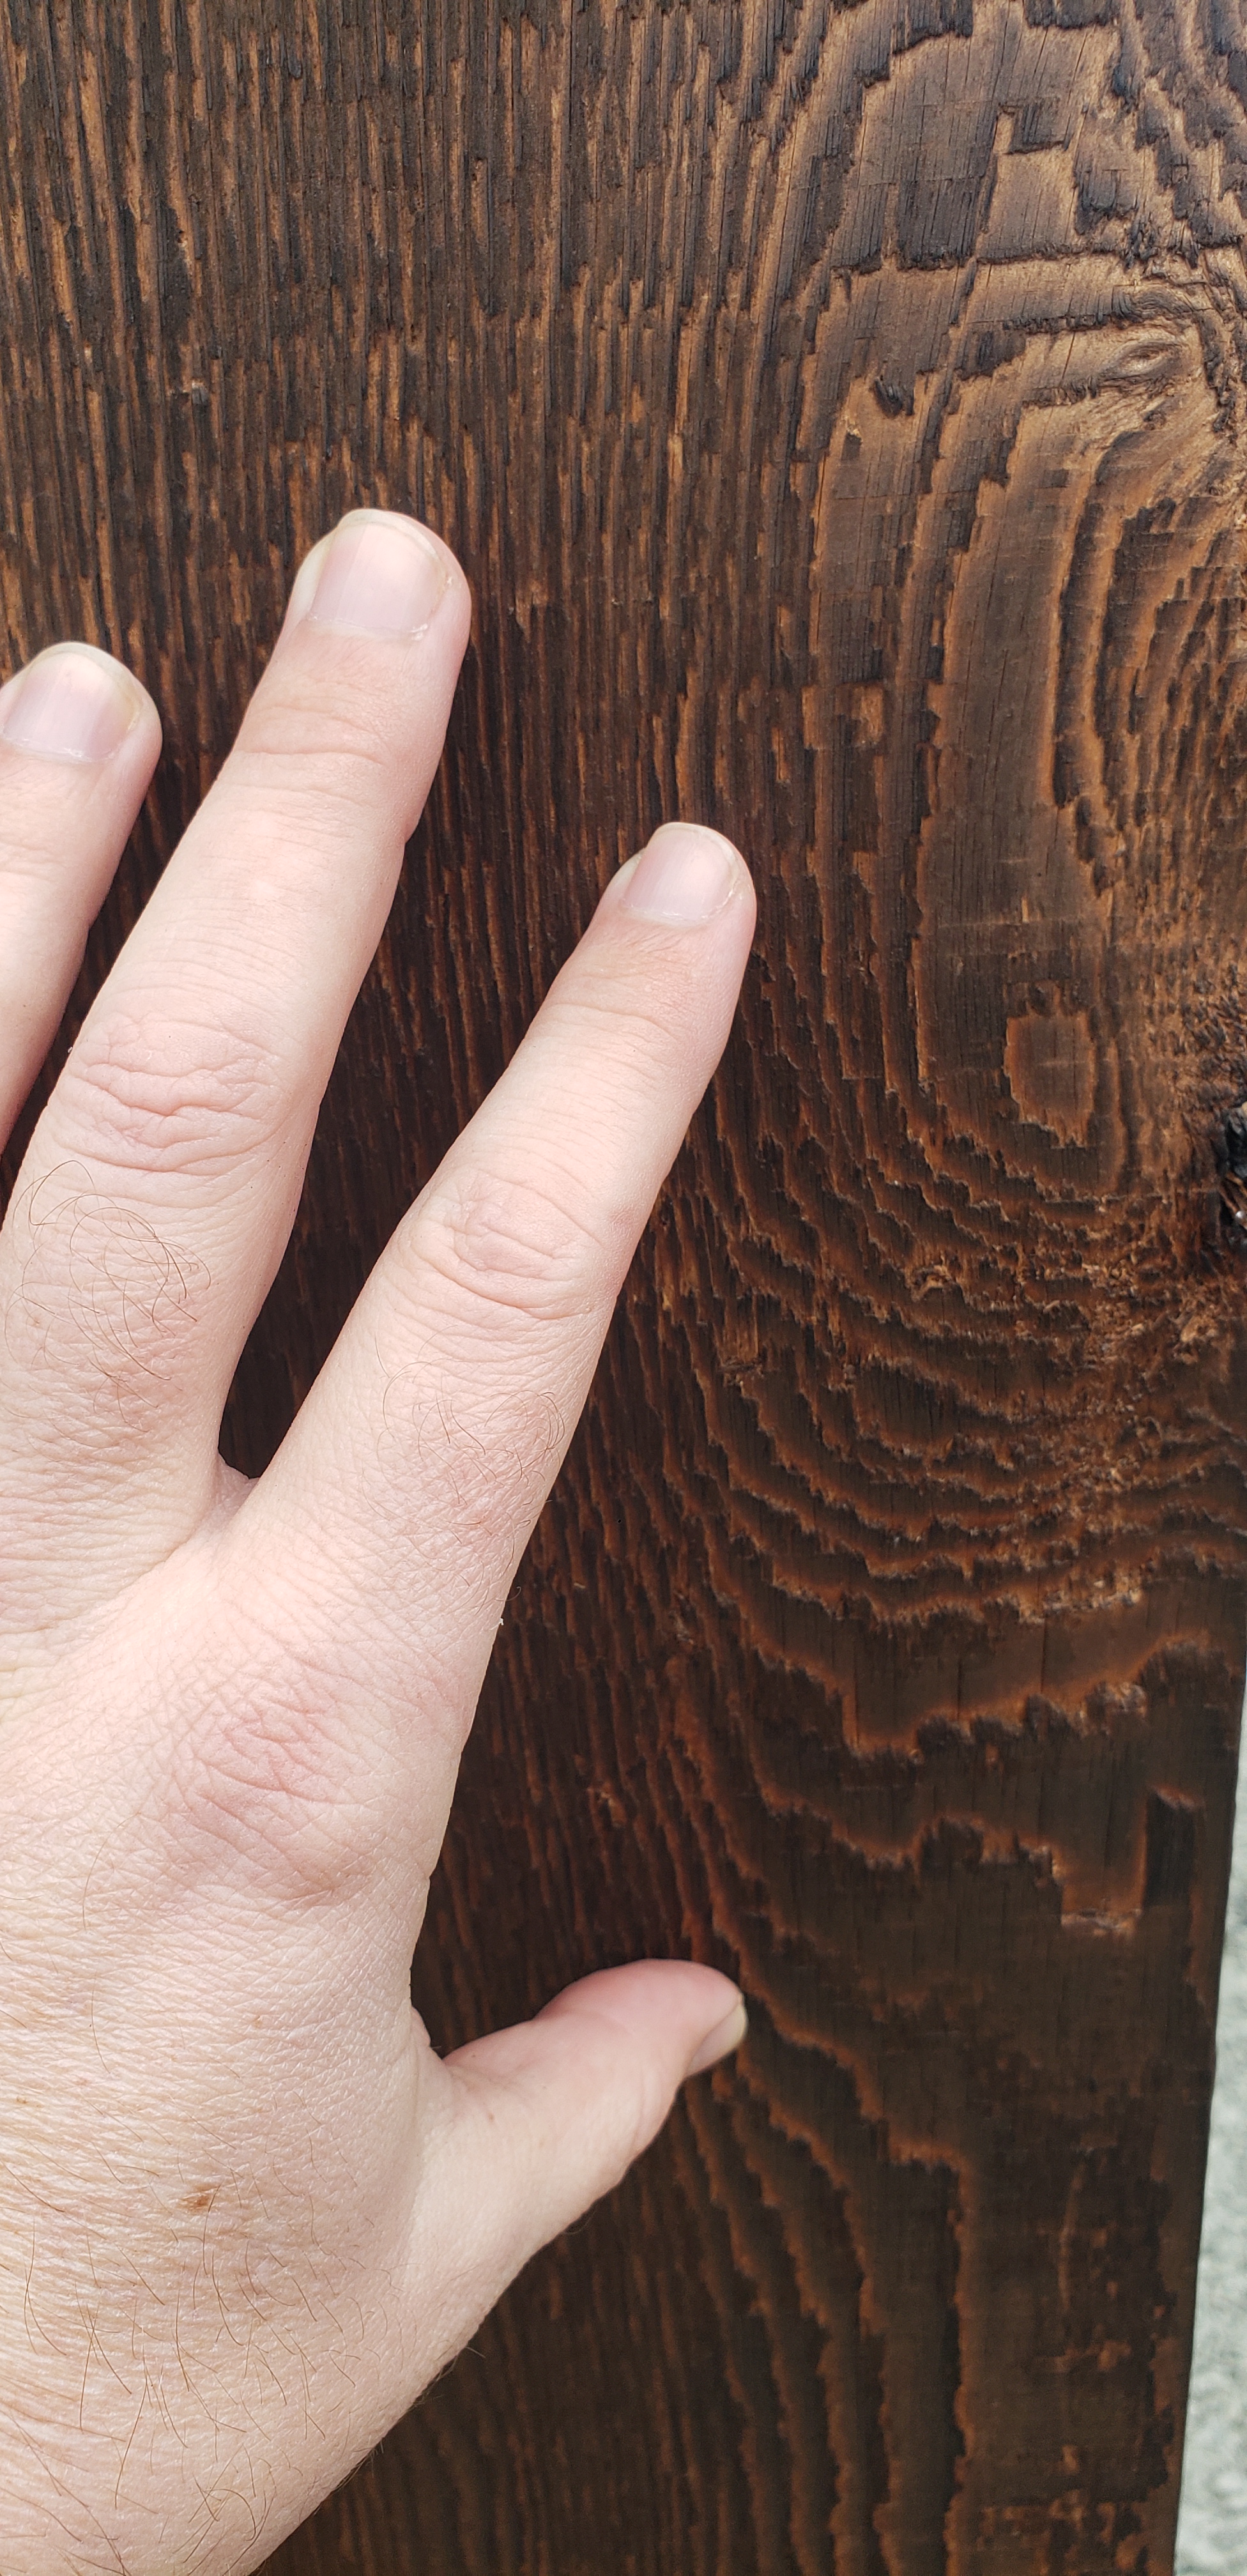
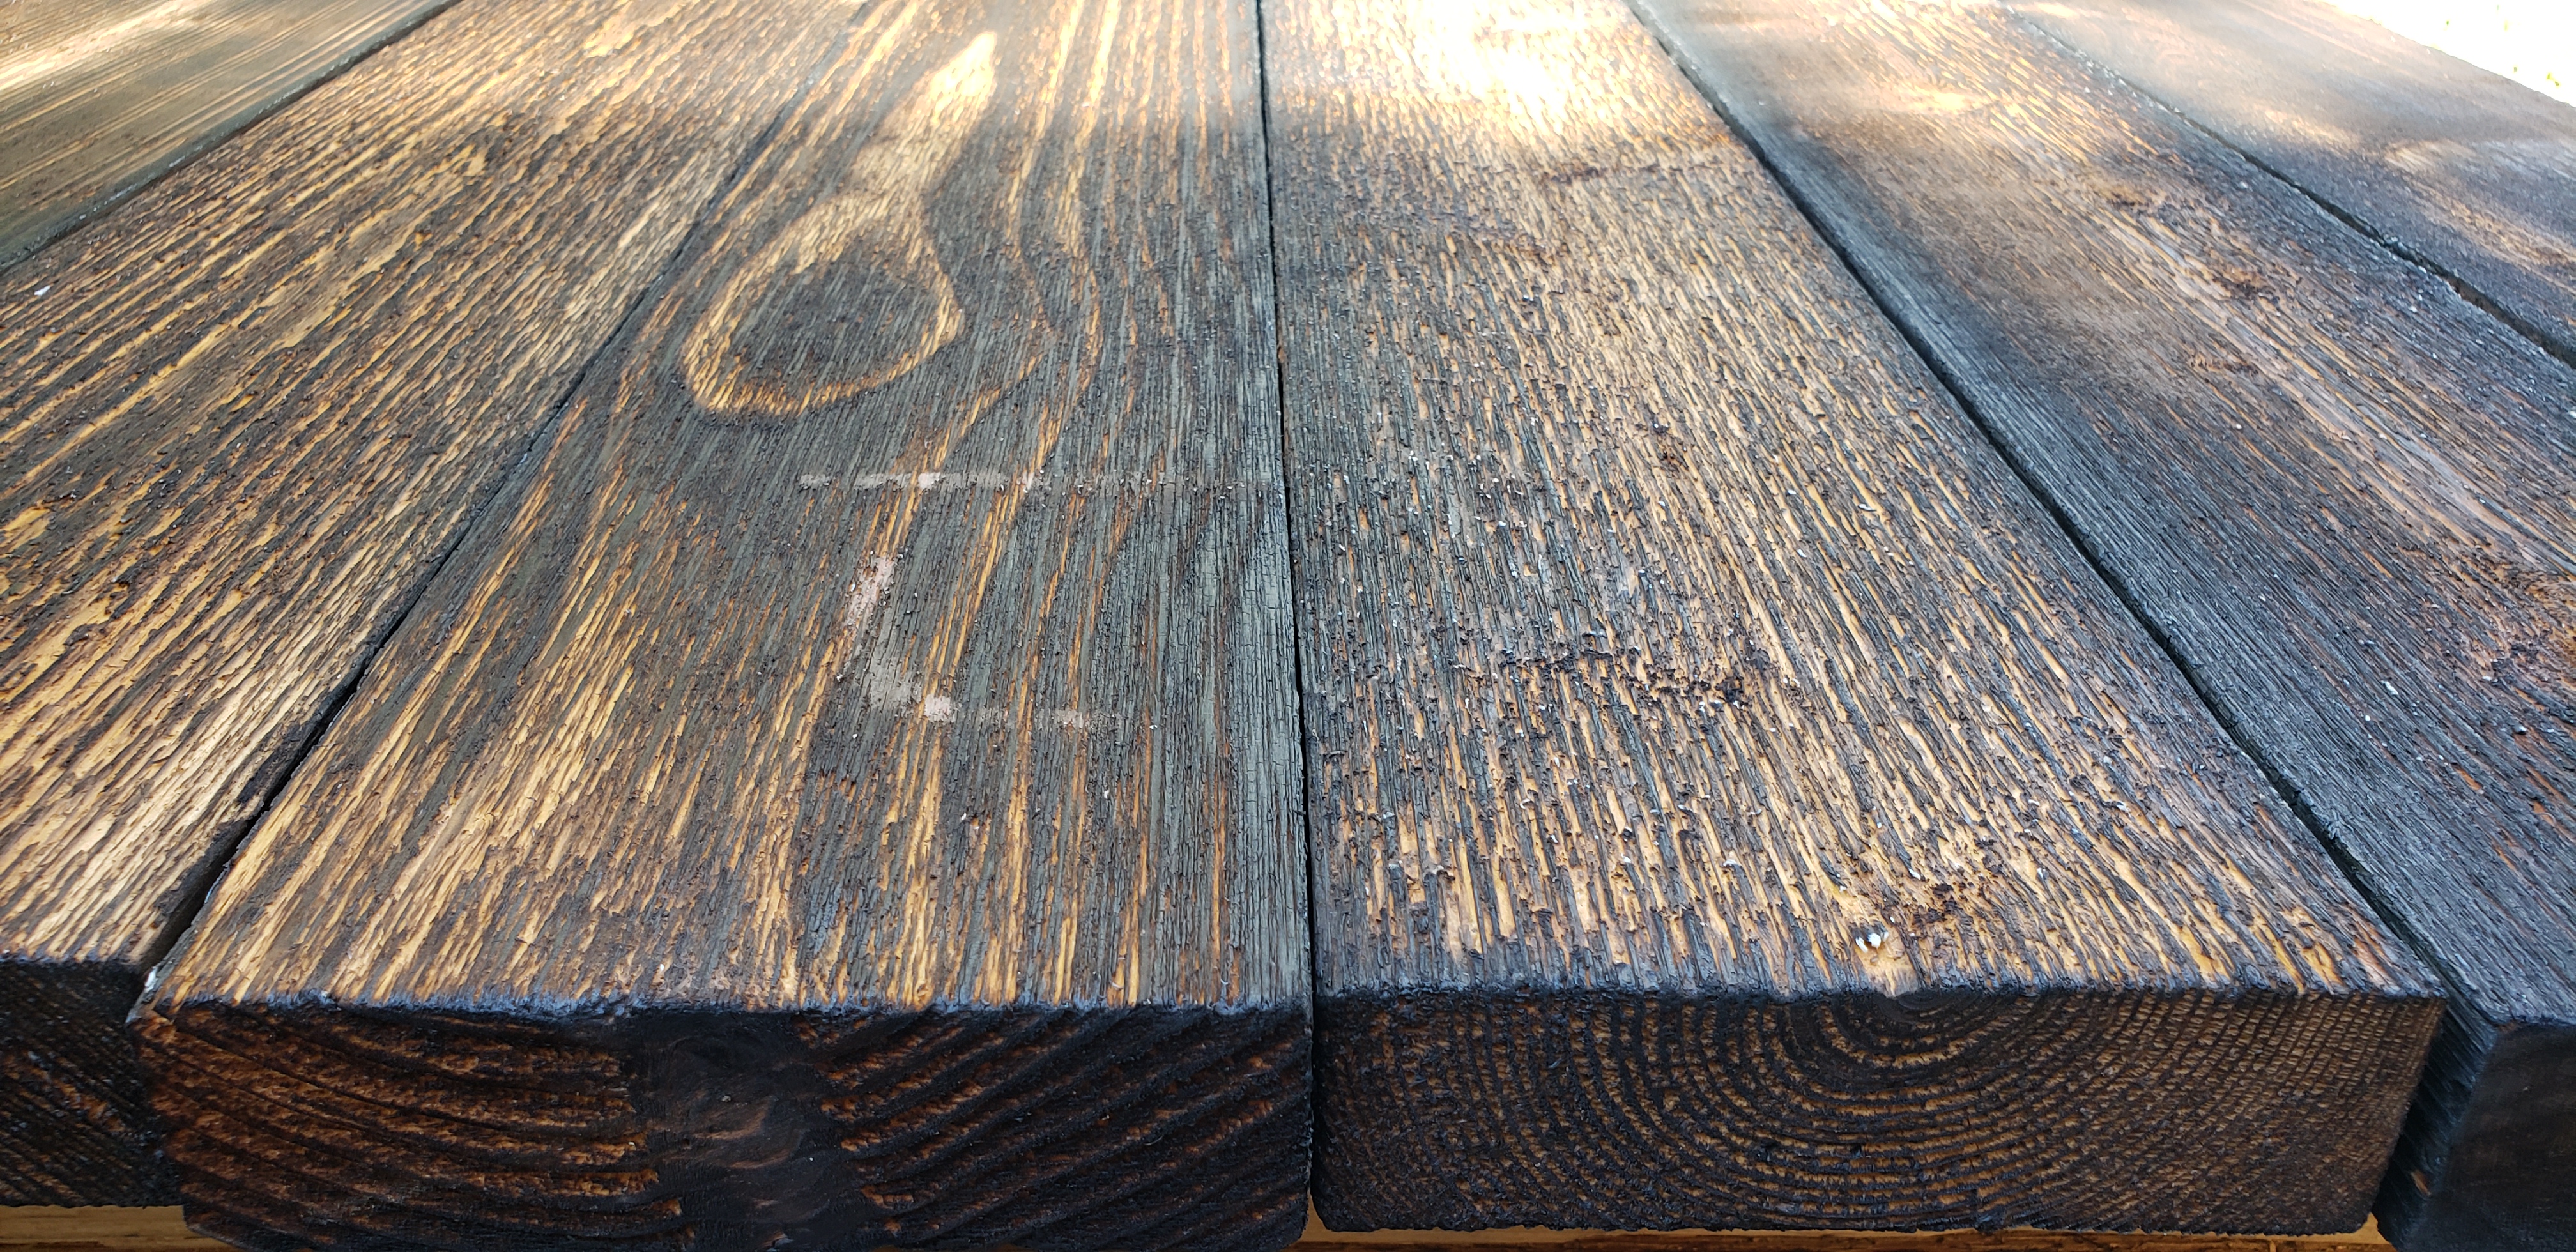
One of my favorite sections of wood. The cut brings out grain that reminds me of tiger stripes. Brush free of the char, freshly oiled (linseed oil with a wide, to cover more area quickly, brush), and ready for its close-up!
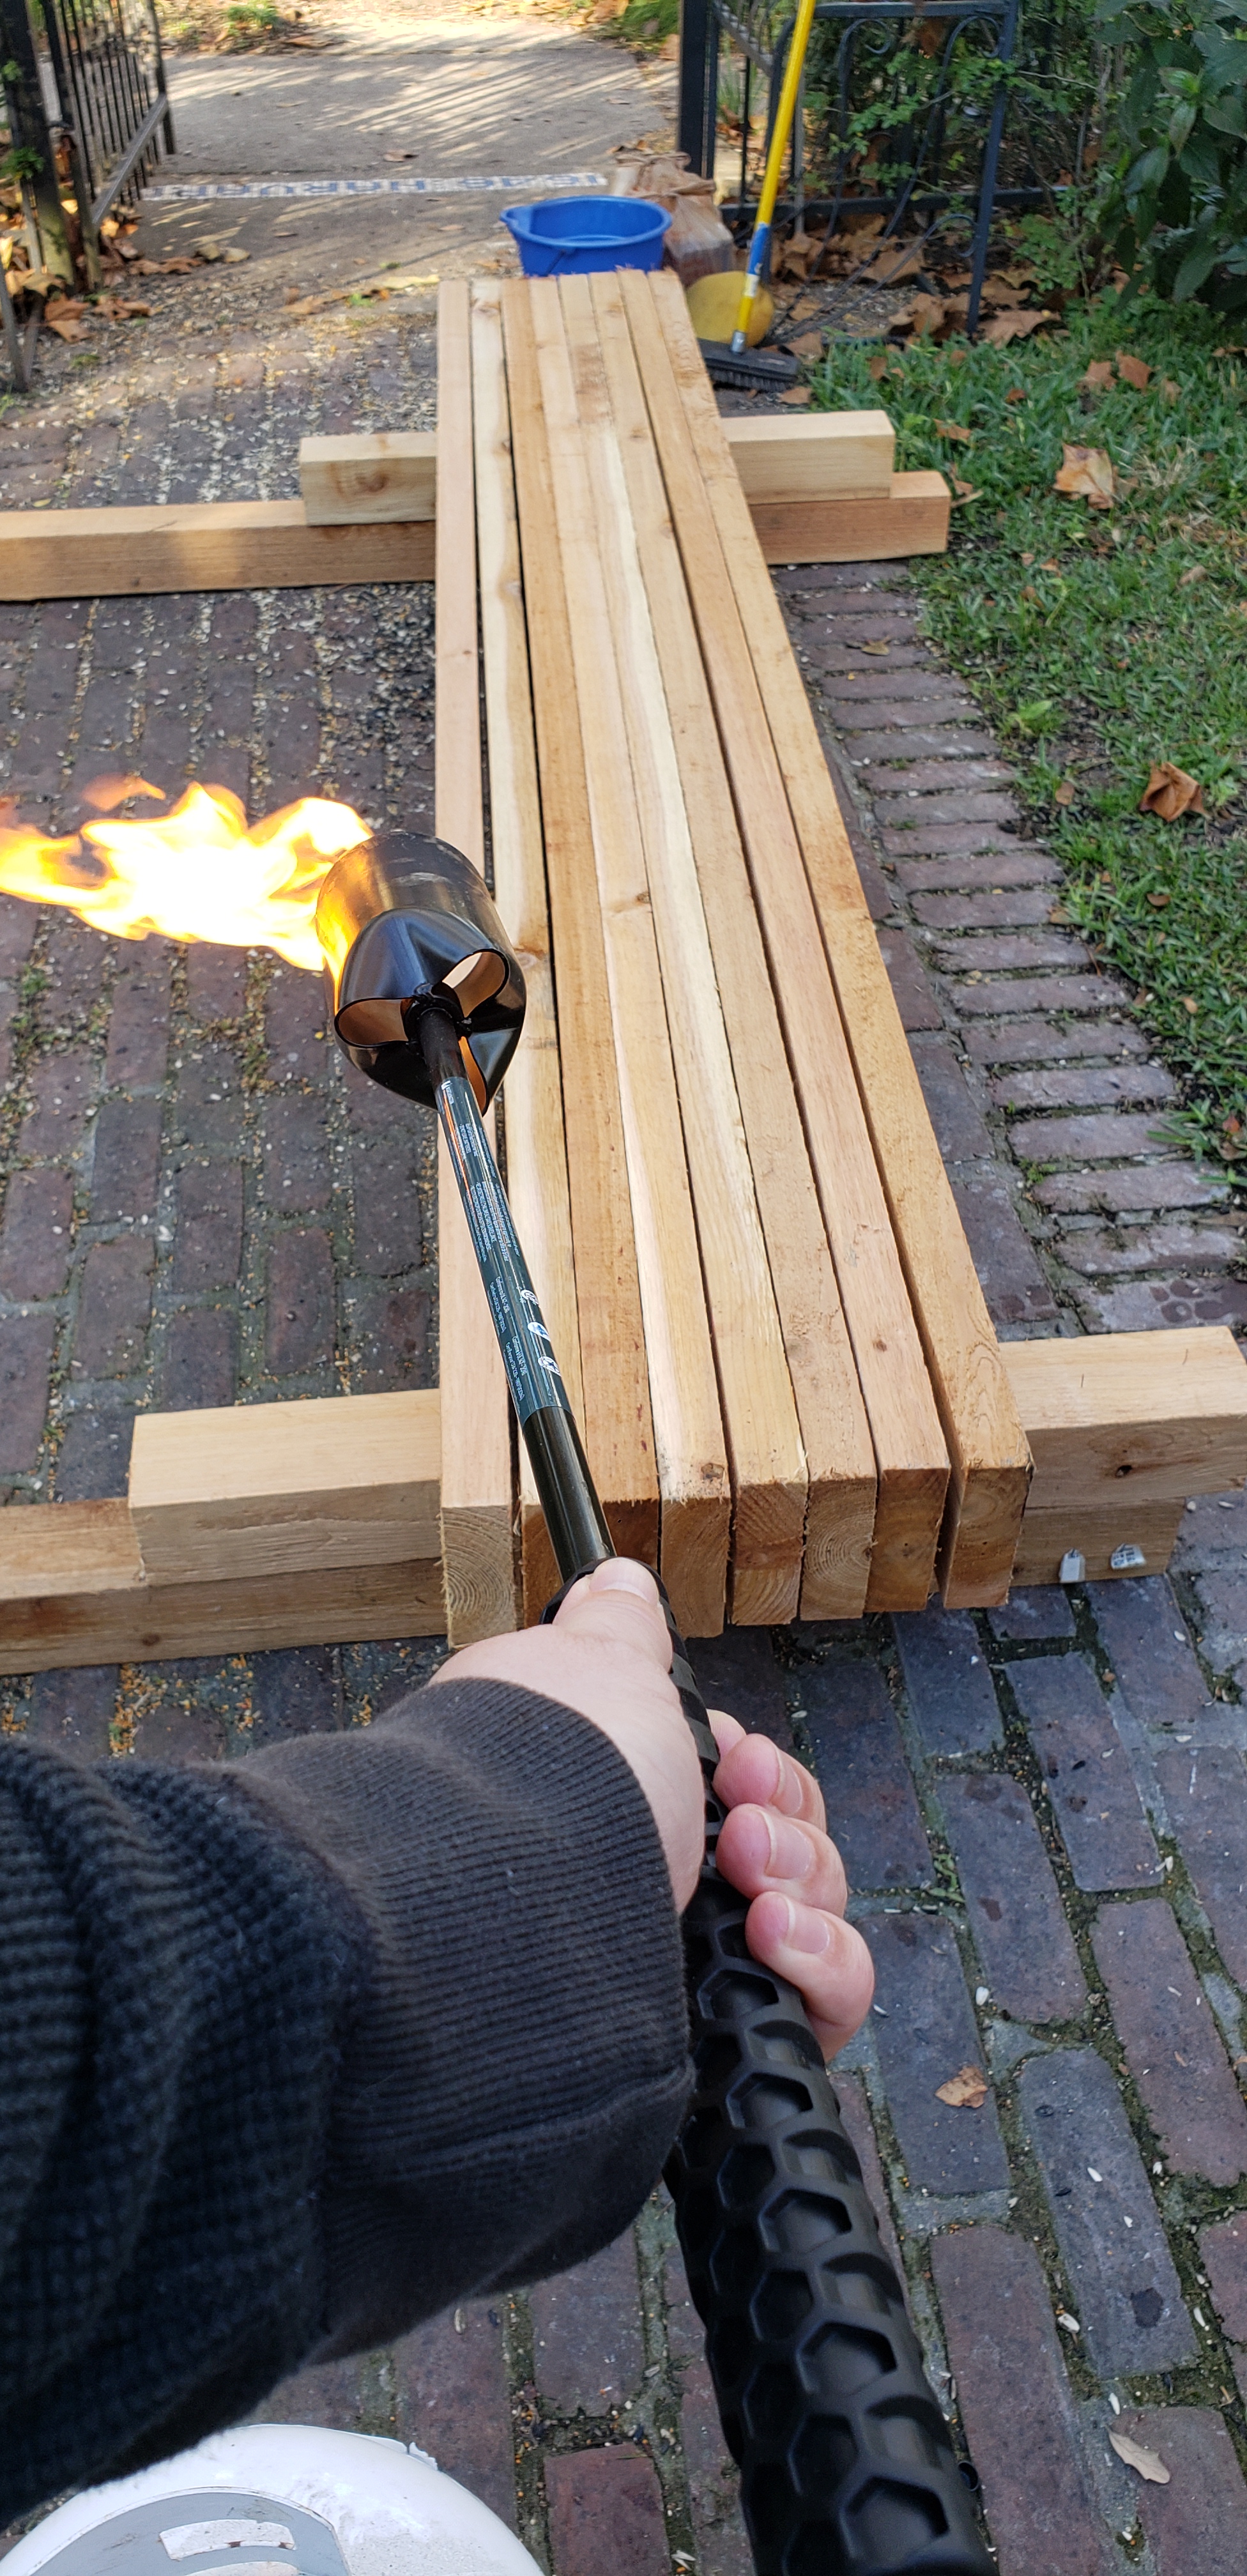
Here, the cross-ties, cedar 2x6x8’s are much more manageable while nearer to the ground. The boards are up on short horses so they do not rub the ground as we rotate them around. We also have them stacked closely so the burn is more efficient.
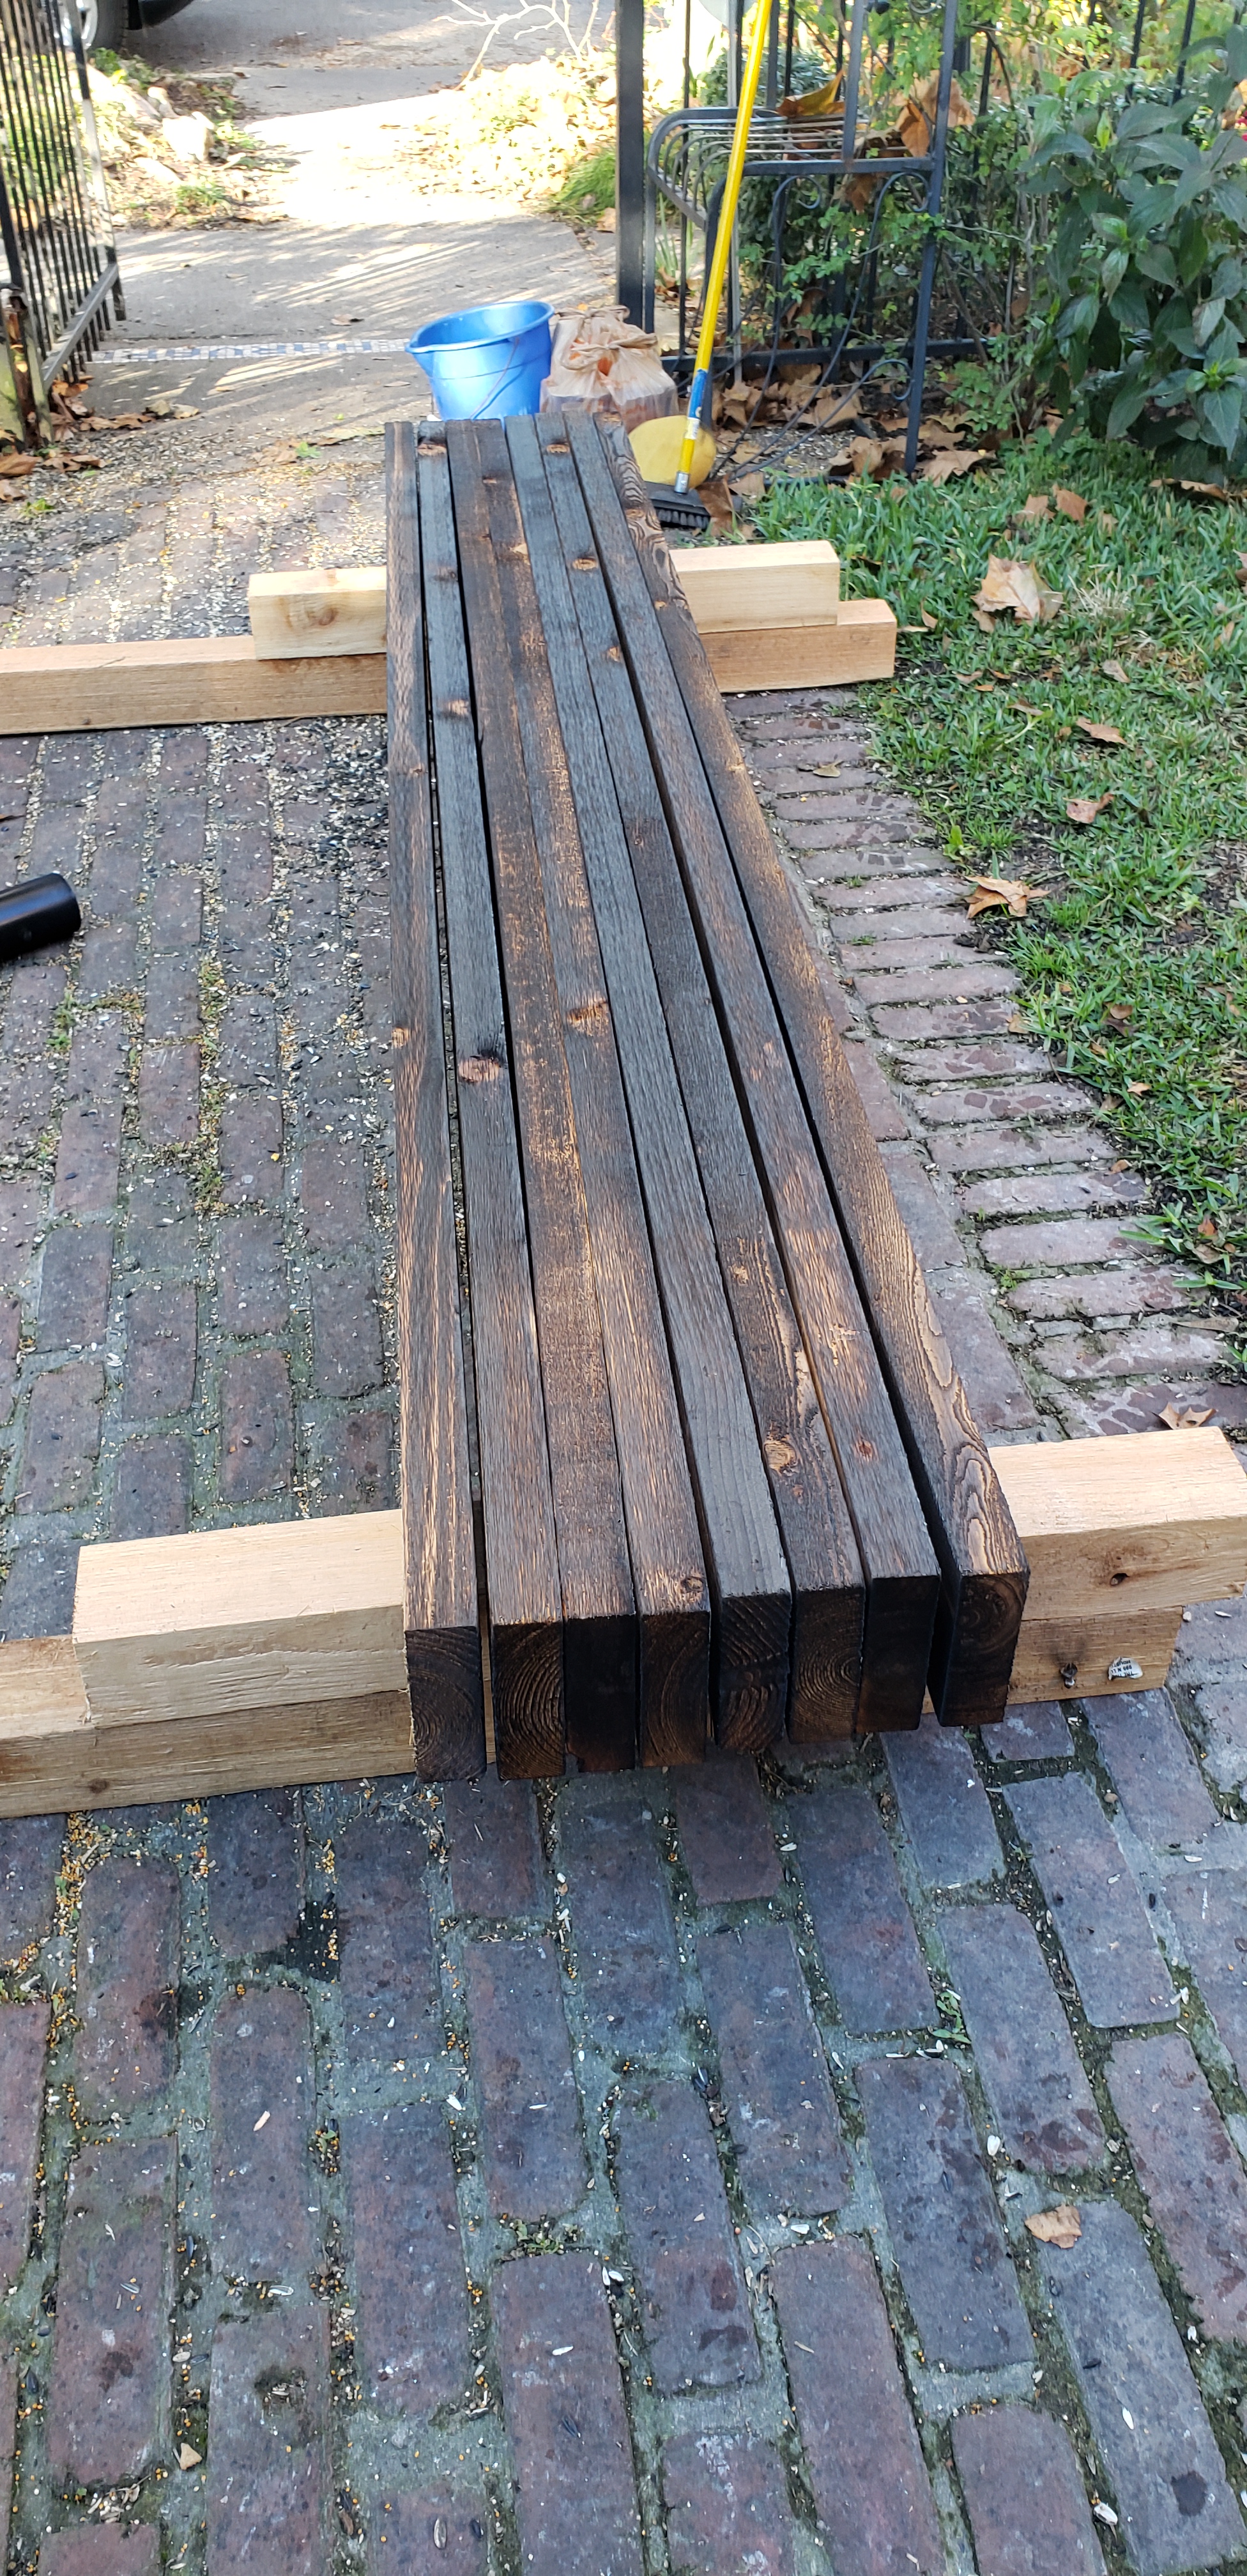
Charred and brushed. Ready to be oiled. We wood is very thirsty after the heat treatments. We oiled the lumber twice. For anyone who wants an even more charred look: I burnt some scrap pieces after having oiled them and they became a very dark brown-black. The crew disposed of them before I could take photograph

The posts had to be cut, on site and in the air, once we decided the desired height. It is challenging enough to make sure posts are plumb, and aligned, without also having to make sure they are an exact height. I used the smaller torch, yes while on a ladder, to finish the tops of the posts. The 2×6 cross-ties here, in contrast with the image before, show the deeper browns that the oil brings out. The literature we have read suggests oiling every year. We are eager to see how the characteristics change over the next few months as our seasons shift warmer.

Happy Gardening from Shawn and Laurin owners of Ravenscourt Landscaping & Design LLC

