
As a designer I prefer Drip Irrigation Systems in beds. They water more evenly, there is no problem with plant height and they save water.
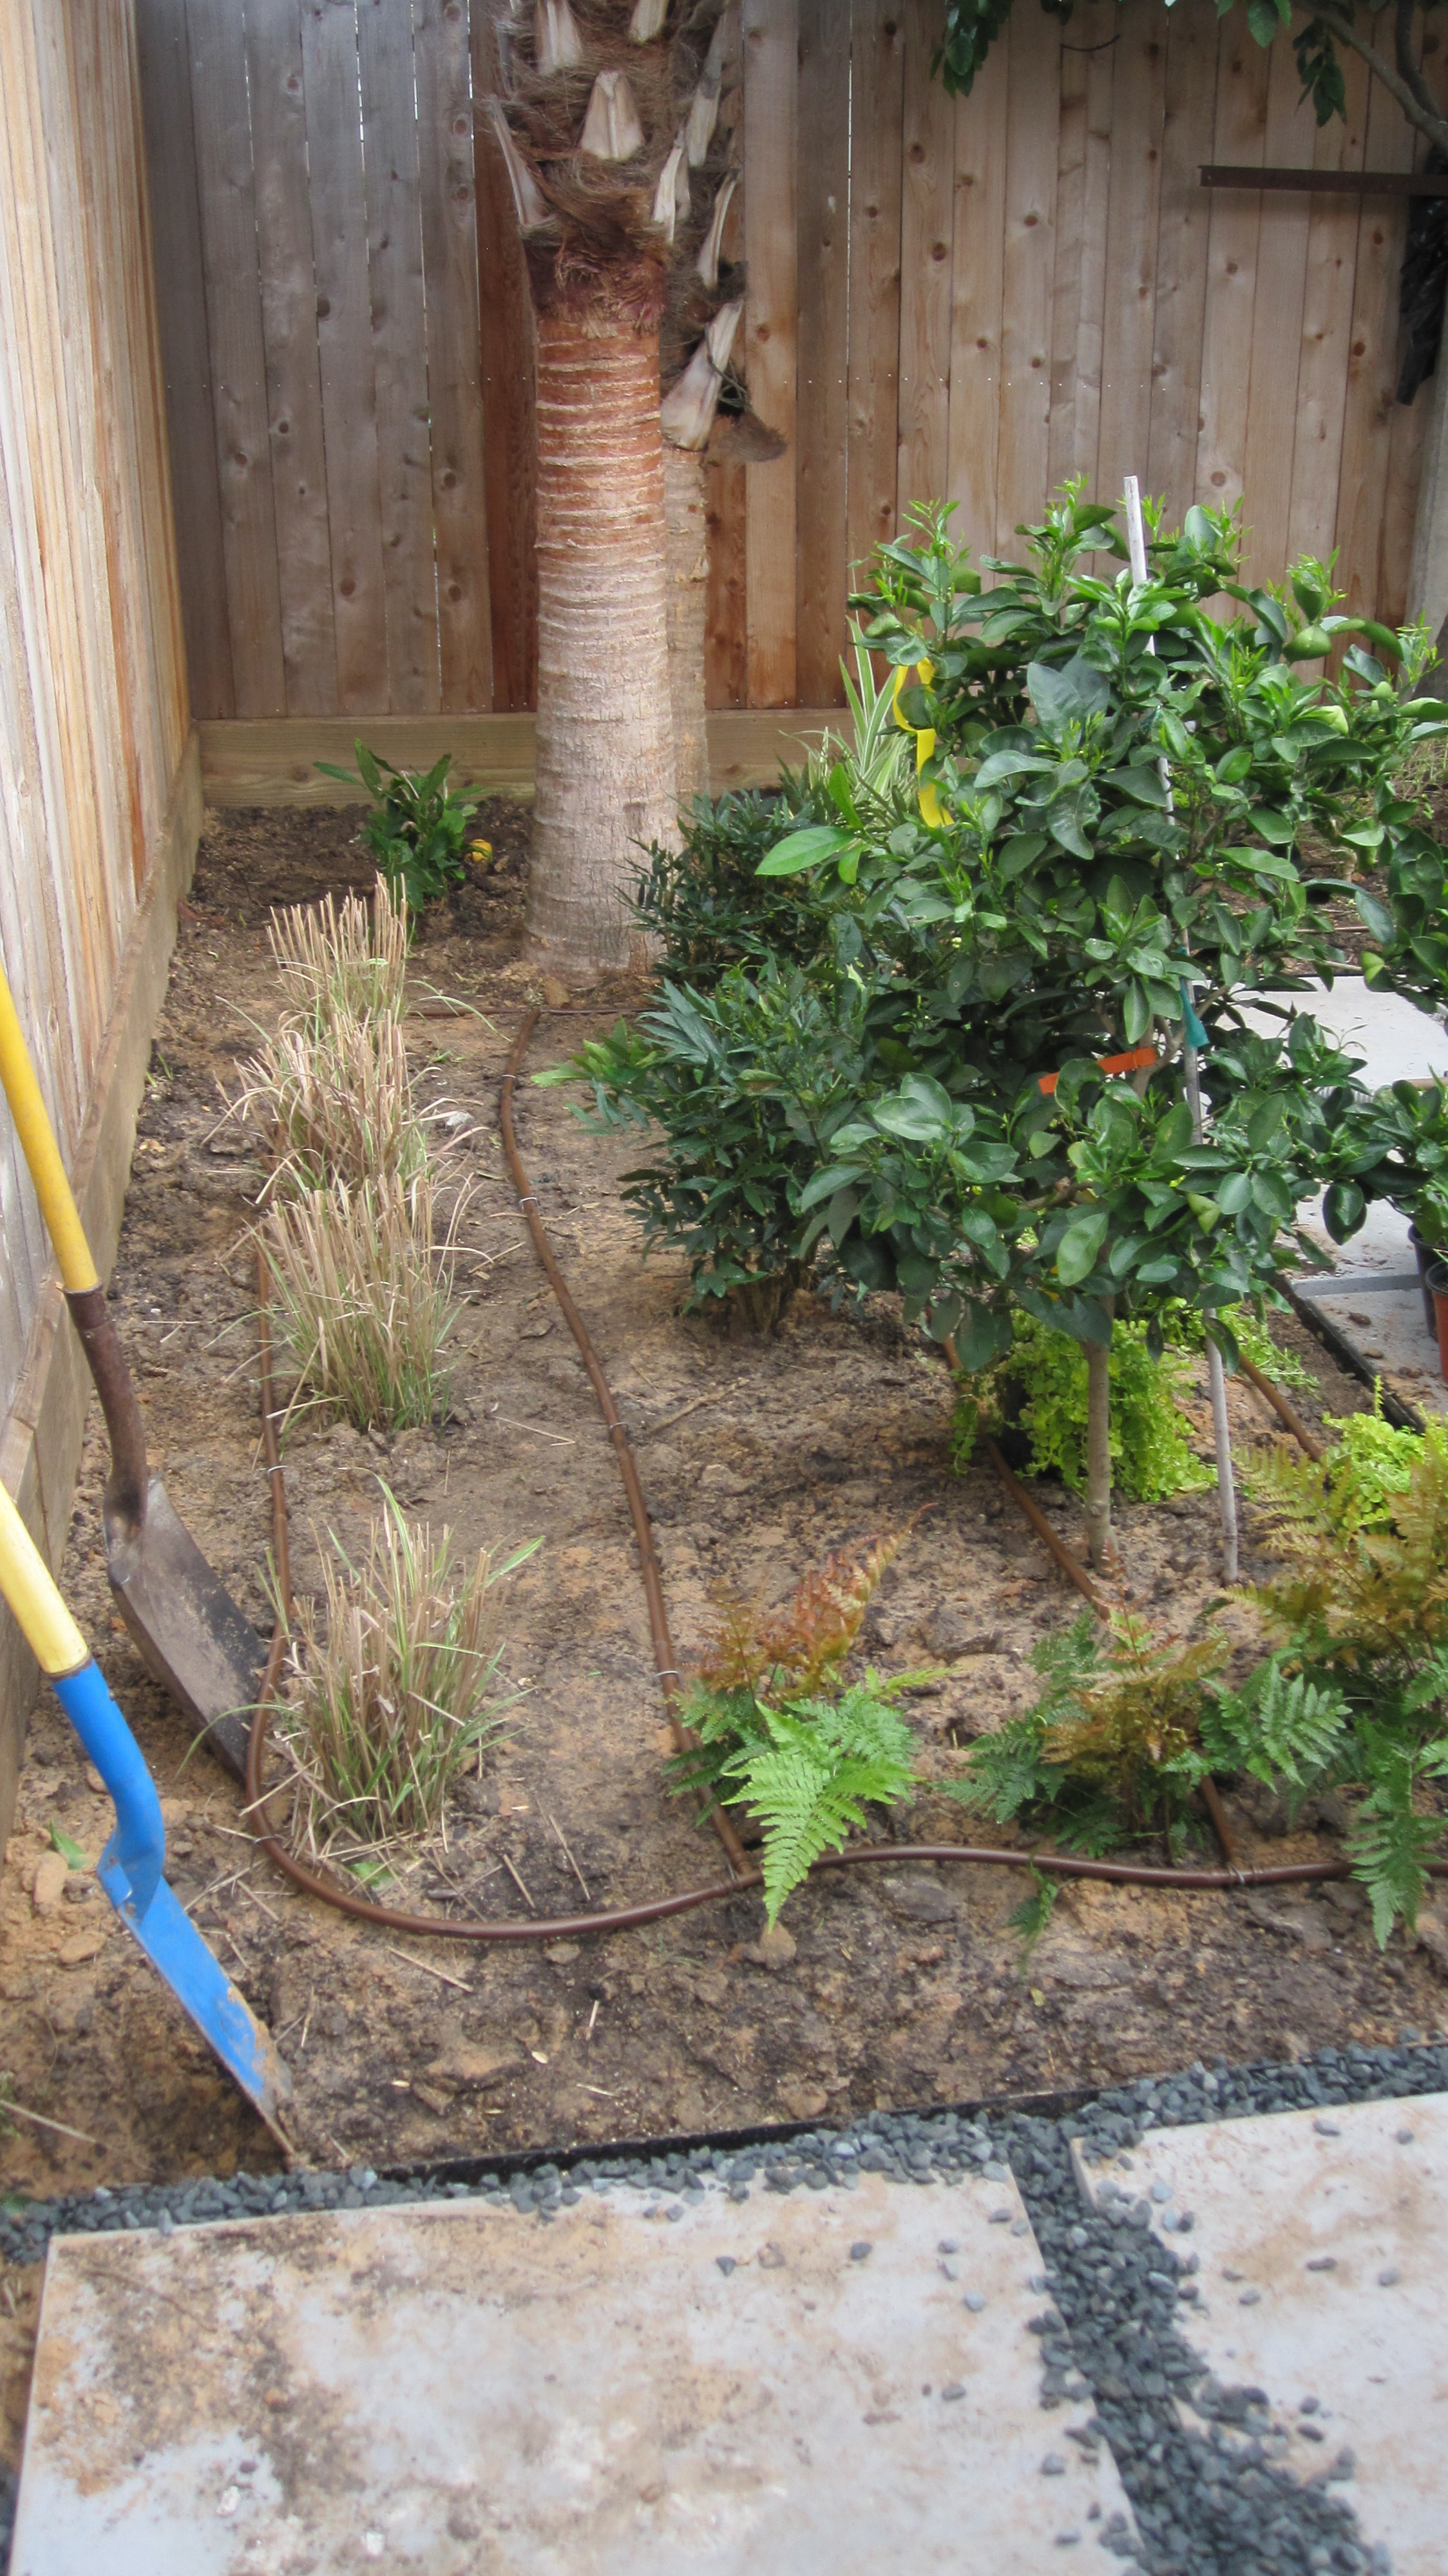
This drip tubing before it is covered with the mulch.
They consist of tubing [similar to a hose with evenly spaced drip holes (emitters), wrapped around trees and through plant beds] and pressure regulator and filter. The tubing we use is designed to be lain upon the soil; it is then covered by mulch so it is not visible but remains on top of the soil to deliver moisture through the holes directly above the root zones. The emitters are one foot apart on the tubing, and the tubing is spaced at roughly one foot intervals; so a plant will generally be near two holes. The even spacing provides even watering which promotes larger root systems on the plants. Larger roots equate to more stress-resistant plants. Trees often need more water so we wrap the tubing around it a few times.
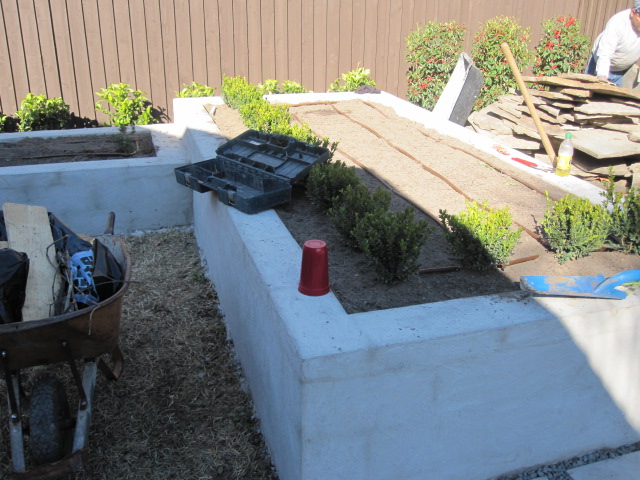
Drip tubing irrigation in raised bed.
As an example of watering durations: you might run a spray zone for 10 minutes, you would run a drip zone for 30 minutes. Our customers generally run the system twice weekly in cooler weather up to every other day in the heat of summer.
There are several advantages of using this method of watering. The consistent moisture release vastly enhances plant growth but its slow nature does not waste water through evaporation or over-watering. There is no waste from over-spray on to fences/structures or even the plants themselves. Plants also endure less stress caused by variations of moisture in the soil. Properly designed and installed drip irrigation systems use water in the most efficient means possible. All these benefits, combined with a much lower watering cost than other methods of watering, provide compelling reasons to install or retrofit your beds with drip irrigation.
http://www.ehow.com/how_5333409_convert-sprinkler-systems-drip-irrigation.html
If you Google “how to convert spray heads to drip irrigation” there are several YouTube videos : )

I use drip irrigation with built in emitters in my vegetable garden and around the foundation of the house. In my hot climate and clay soil, the water does not seem to spread far from the emitters. Any suggestions?
LikeLike
Michael, A few things come to mind. We work on soil health to help make sure that the soil is able to absorb the water. Using an organic fertilizer, humates and compost gets the biology of the soil active and that naturally aerates the soil. When the air goes deeper so does the water. We use Microlife 6.2.4. http://www.microlifefertilizer.com/checklist-for-healthy-soils/ we also cover the drip tubing with a couple of inches of mulch and when the tubing begins to show again we know it is time to mulch again. Then there is the length of time you water. Remember that the irrigation dispersal systems are often designed to have overlapping dispersals. In your example your hose has emitters every foot. Try offsetting a second tube one foot away from the other (Ideally with the emitters alternating; imagine each emitter being the point of a triangle and you will create an equilateral triangle). While traditional spray heads (usually used in lawns) are rated in gallons-per-minute drip tubing (with micro-emitters) is rated in gallons-per-hour. Remember this when gauging durations; generally, ten minutes with a drip tube will just barely wet the surrounding area. In terms of determining duration, we recommend watering each area once per season to the saturation point and log the results. What you are trying to do is soak the soil in each area of your landscape to the point that water begins to run off to other areas or pool quite a bit. Time how long it takes to reach the supersaturated soil point, then when you water in the future, back the time down by five minutes per section to avoid runoff. I hope this helps!
LikeLike
Pingback: Meeting Dee Nash, author of The 20-30 Something Garden Guide | Ravenscourt Gardens
Nice post thanks for shariing
LikeLike