
Tags
concrete fountain, leveling the fountain, New Orleans style garden, Ravenscourt Landscaping & Design LLC, Statue Makers Fountain
We are getting to the finishing touches on our current project. This is a small space on the south-side of a town home. Two weeks ago we showed the construction of the lattice mirror screen. This week we picked up the fountain from our favorite fountain and statuary shoppe Statue Maker. Statue makers is in Spring Branch off the I-10 on Blaylock. This is the 66″ Pavasa fountain in the Rococo stain color cedar water stone, made by Massarelli’s. We put in the larger version of this fountain just a few weeks ago. This version is 48″ wide, perhaps a little over-sized but a wonderful focal point that totally distracts you from the a/c units on the other side of the mirrored screen. It weight in at 756 lbs. Yep…takes several crewmen to get this fountain in place. It was a bit ticker and more effort than usual to install because it is such a tight space. No one could stand where the house and screen are.
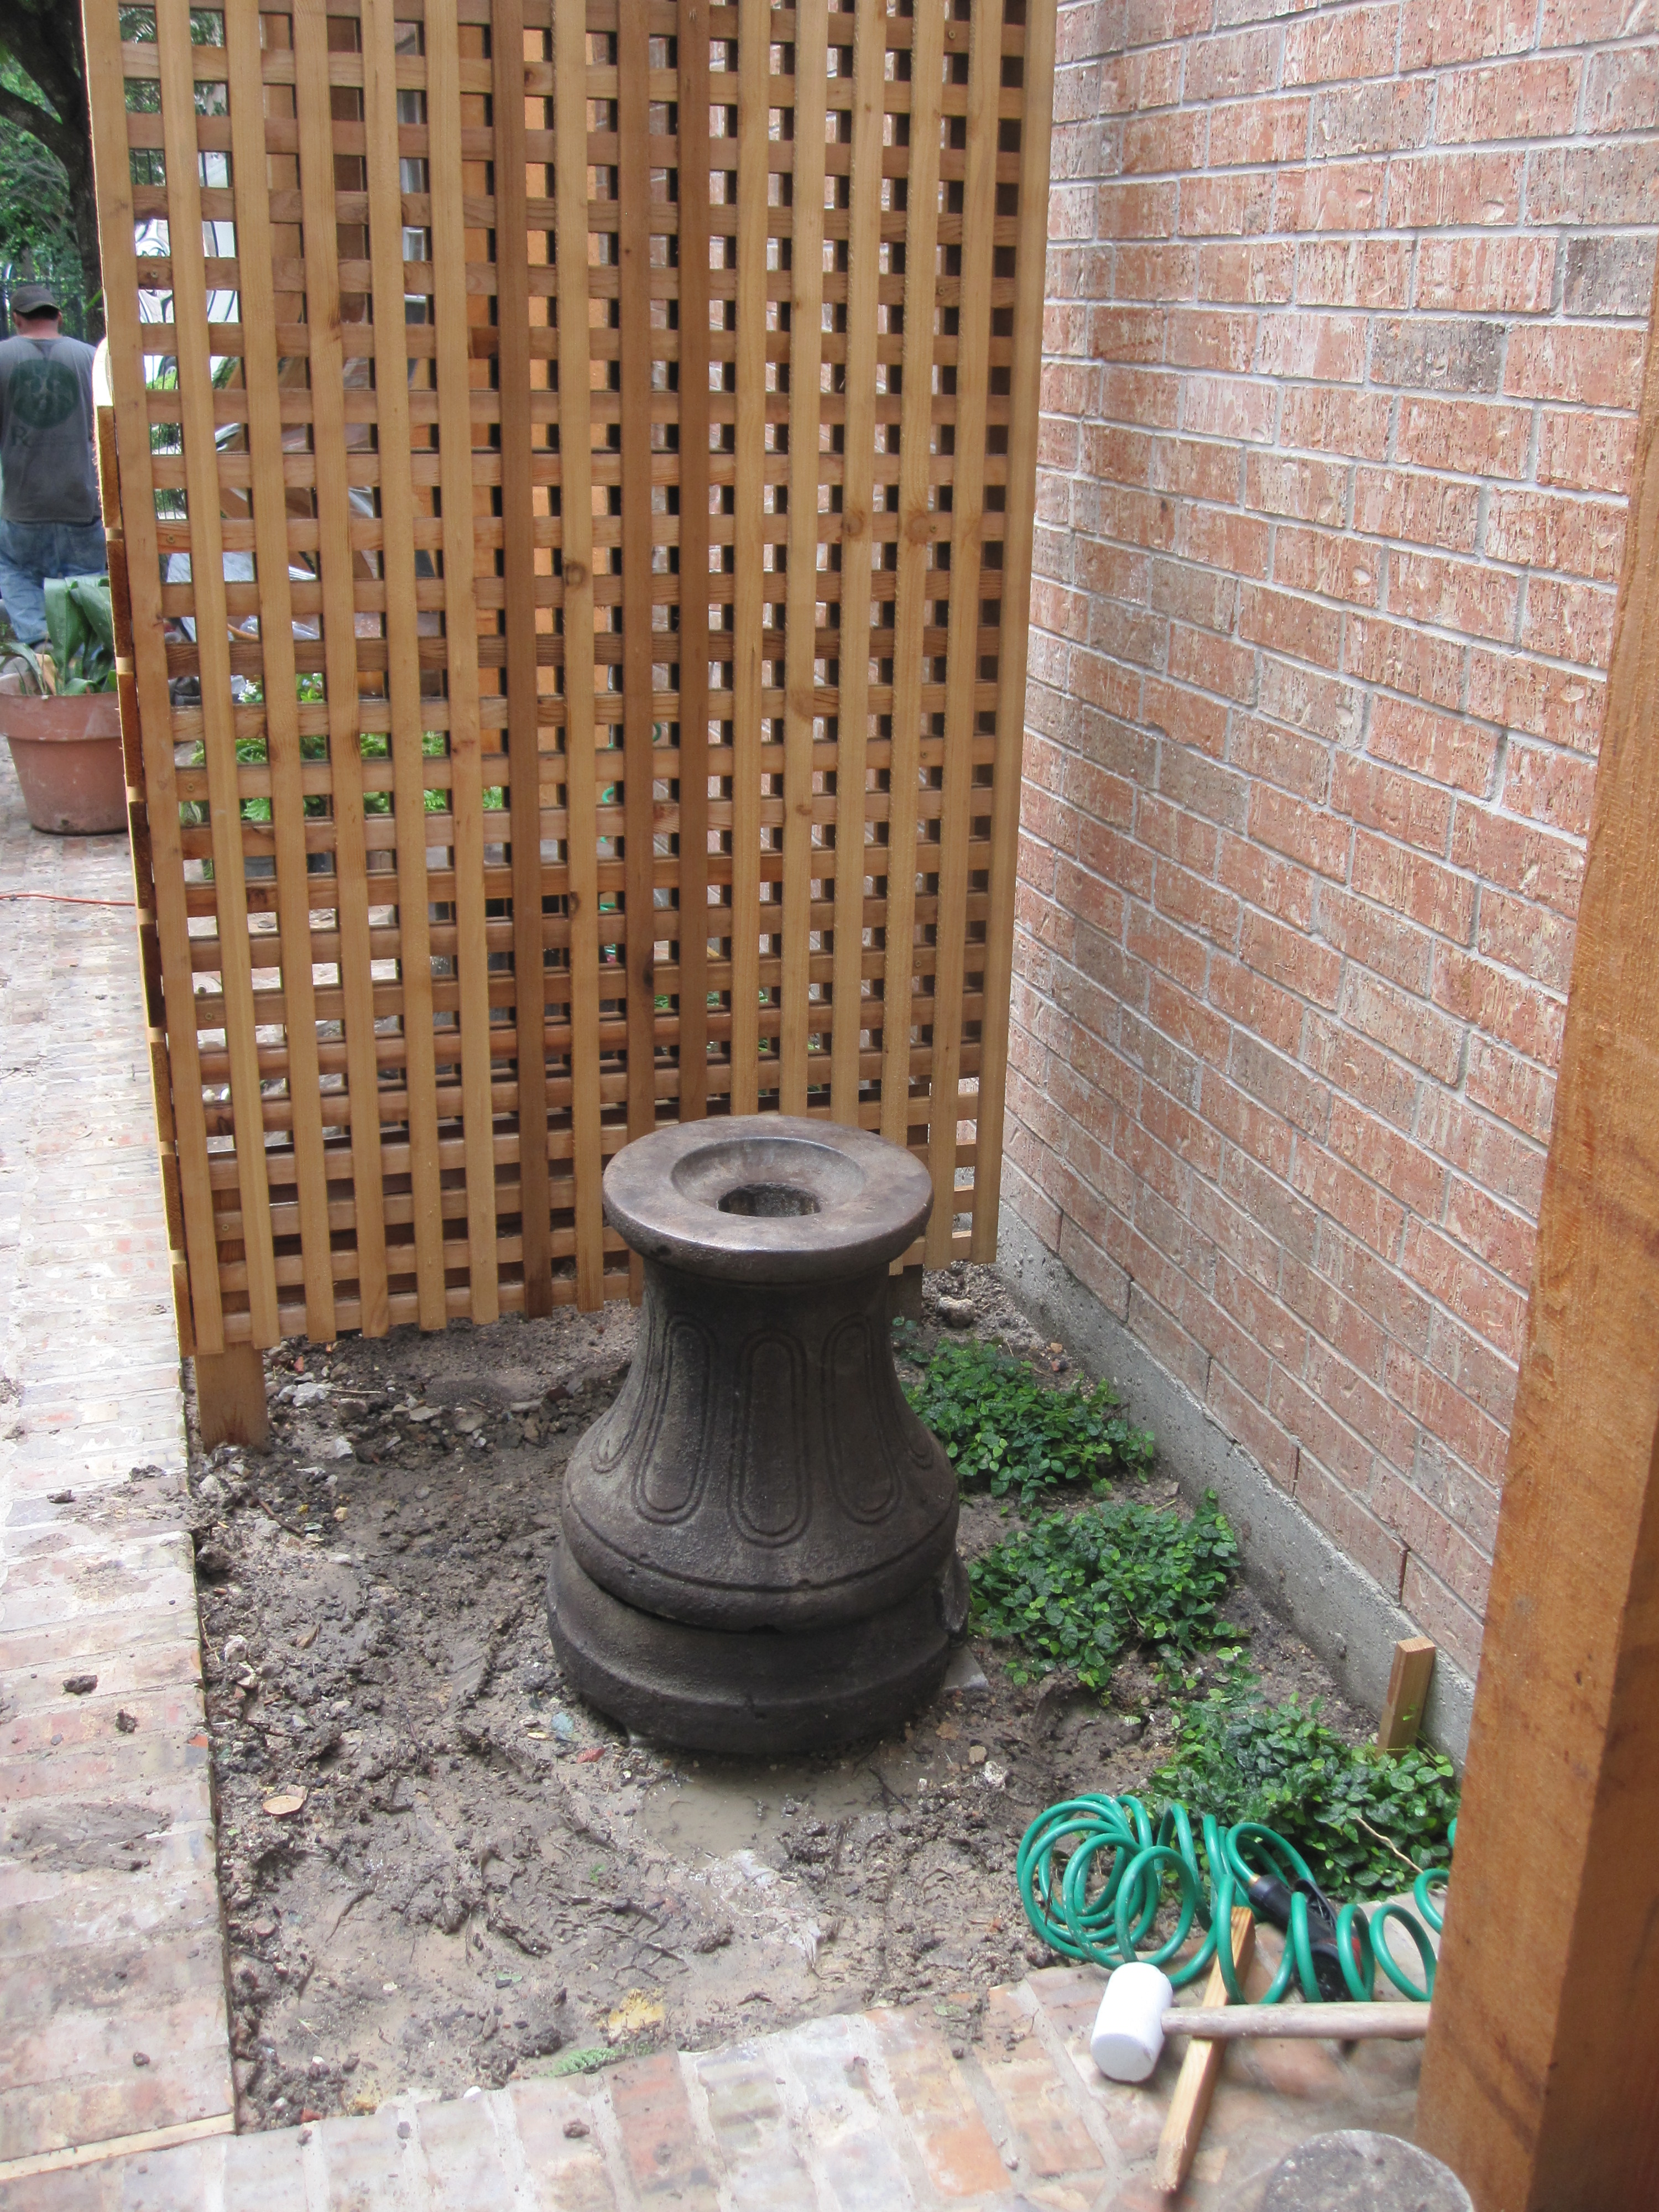
The above image has three components
The base, above, is actually two sections (three if you count the removable access door). The weight of the entire fountain is carried down these sections. Note the hole in the middle. The power cord feeds through the hole in the base of the fountain and out the portal in the lowest section. What you can not see here is the foundation blocks which are now buried. Before the fountain sections are moved into place (or in this case, before we even went to pick the fountain up) we have our blocks installed, firm, and level.
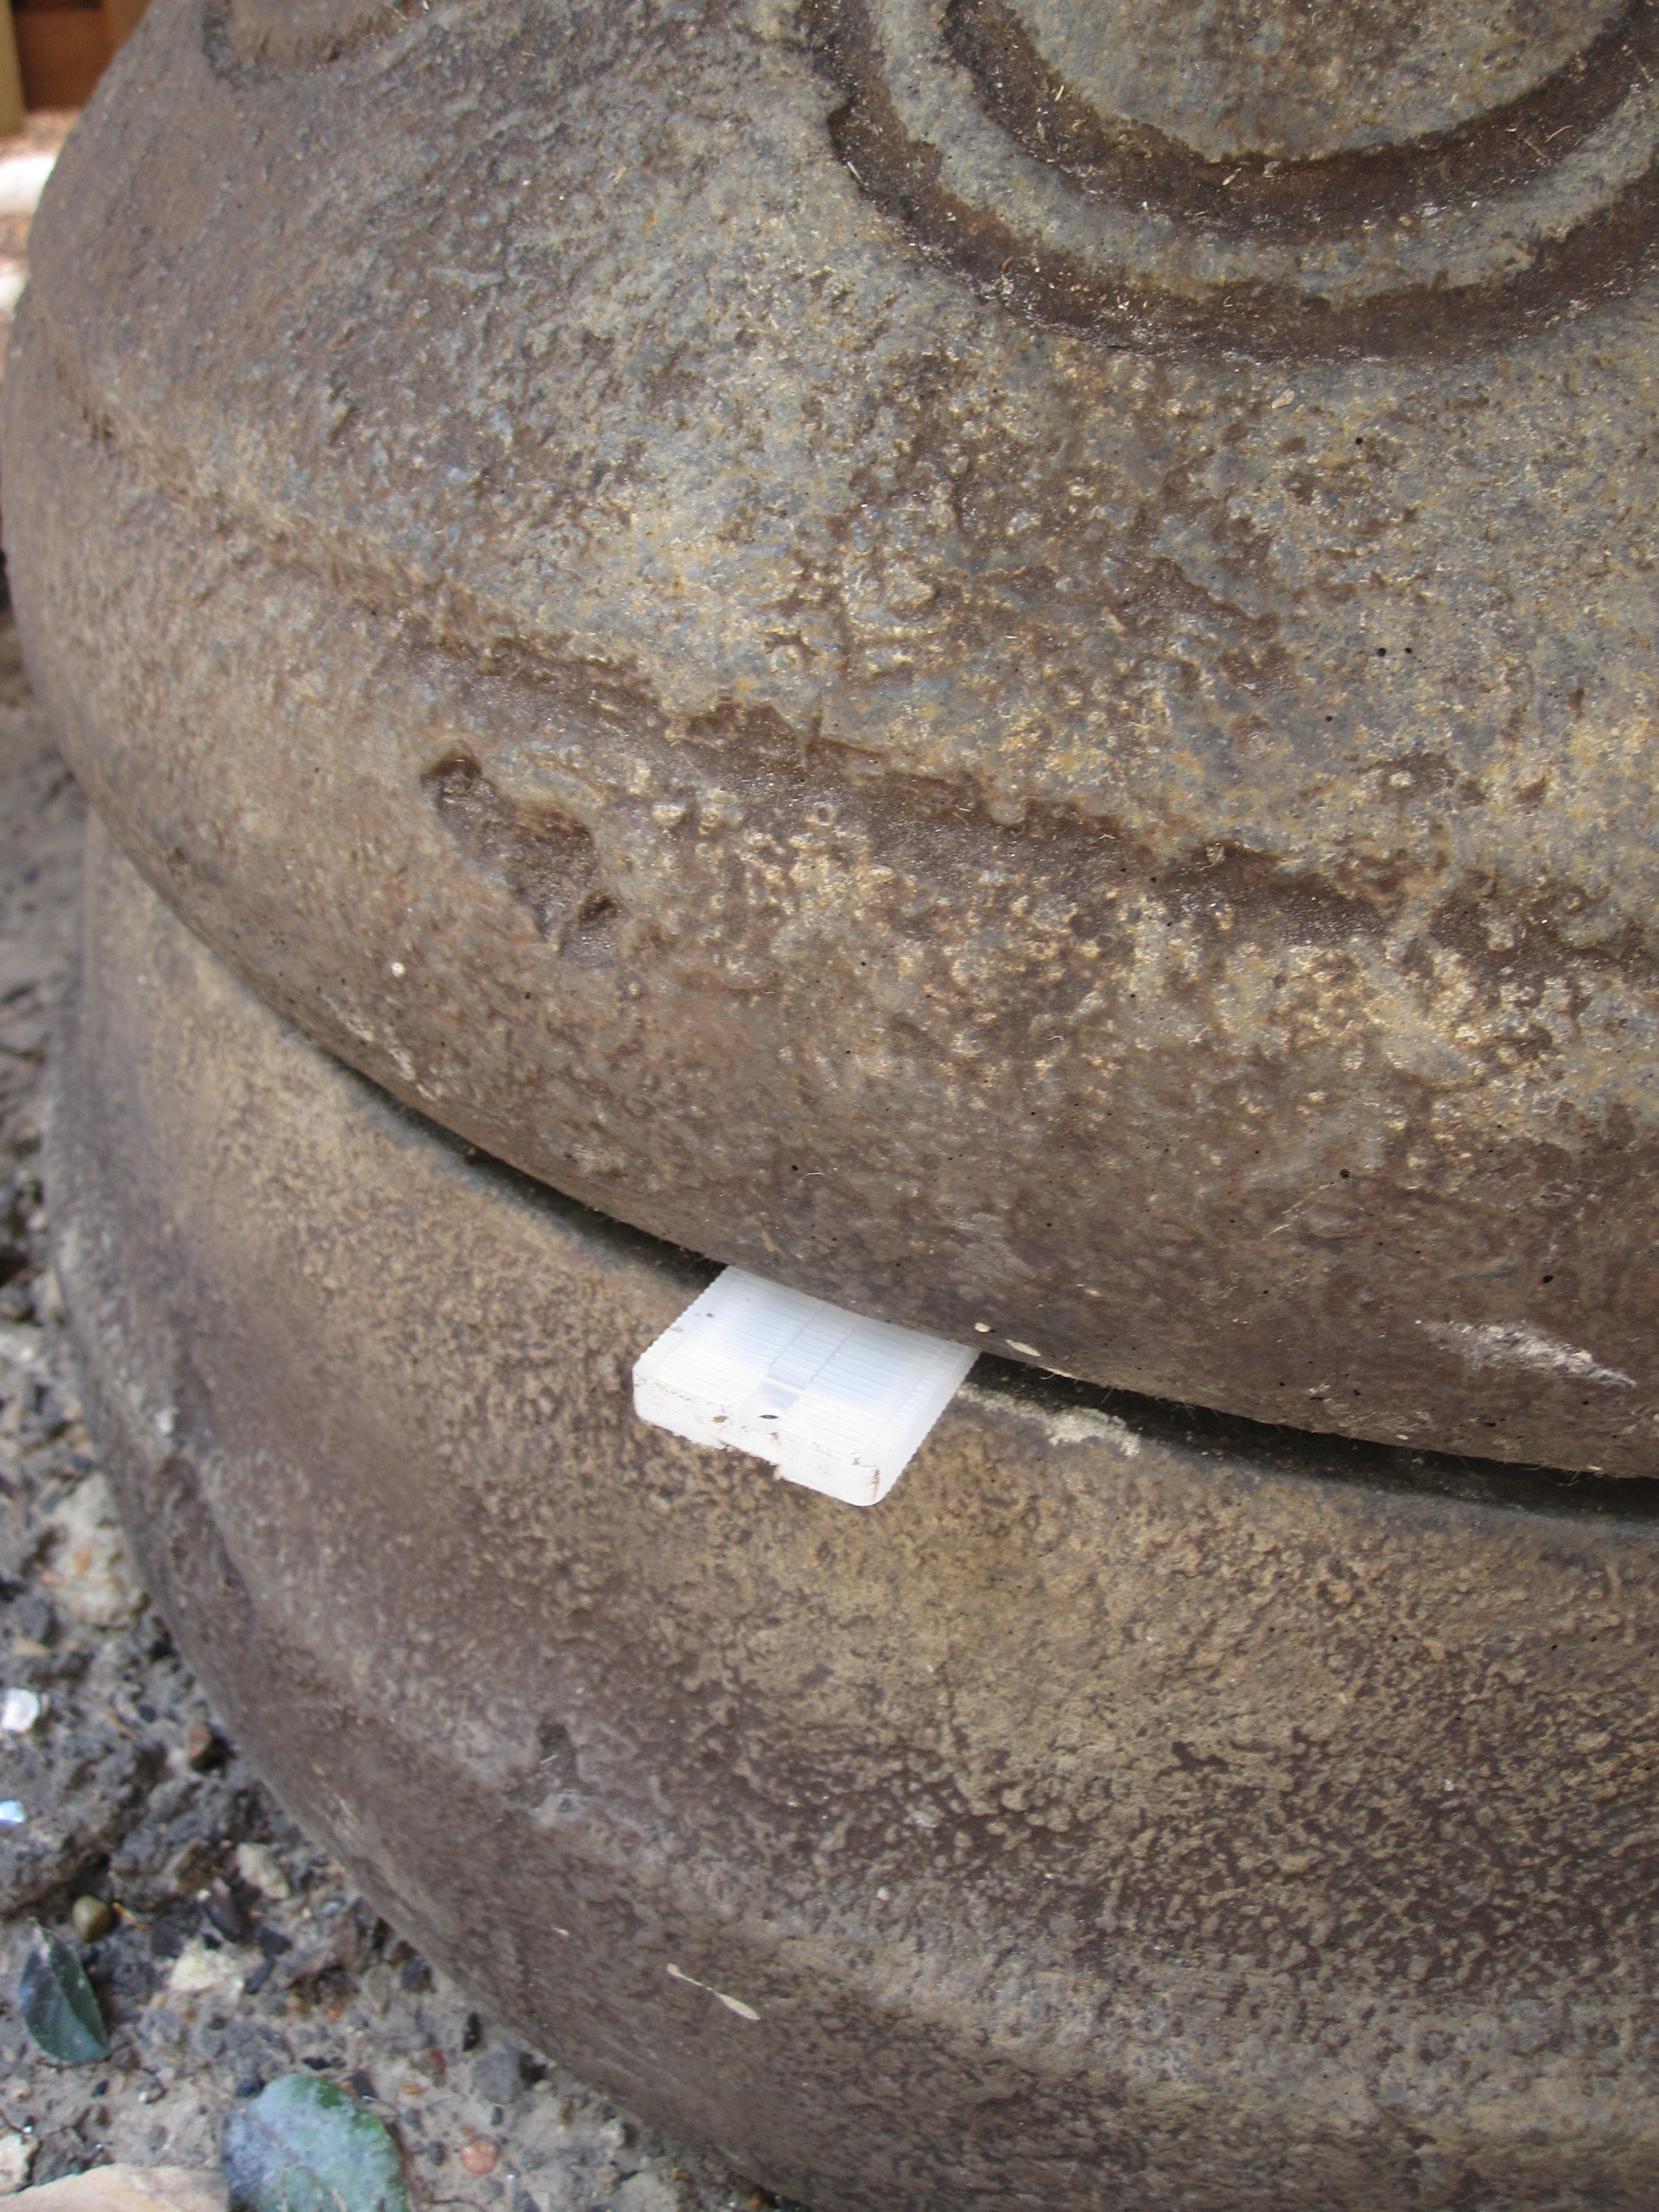
Shimming the fountain
Even with the best quality fountain, you may find that the sections of it are not exactly level. Often times there will be a slight wobble when tier is stacked upon tier. In these, the first sections, it is even more important to make sure everything is secure. Because I knew that we would be planting fern around the base I found it acceptable to use a plastic shim as it will soon be hidden.
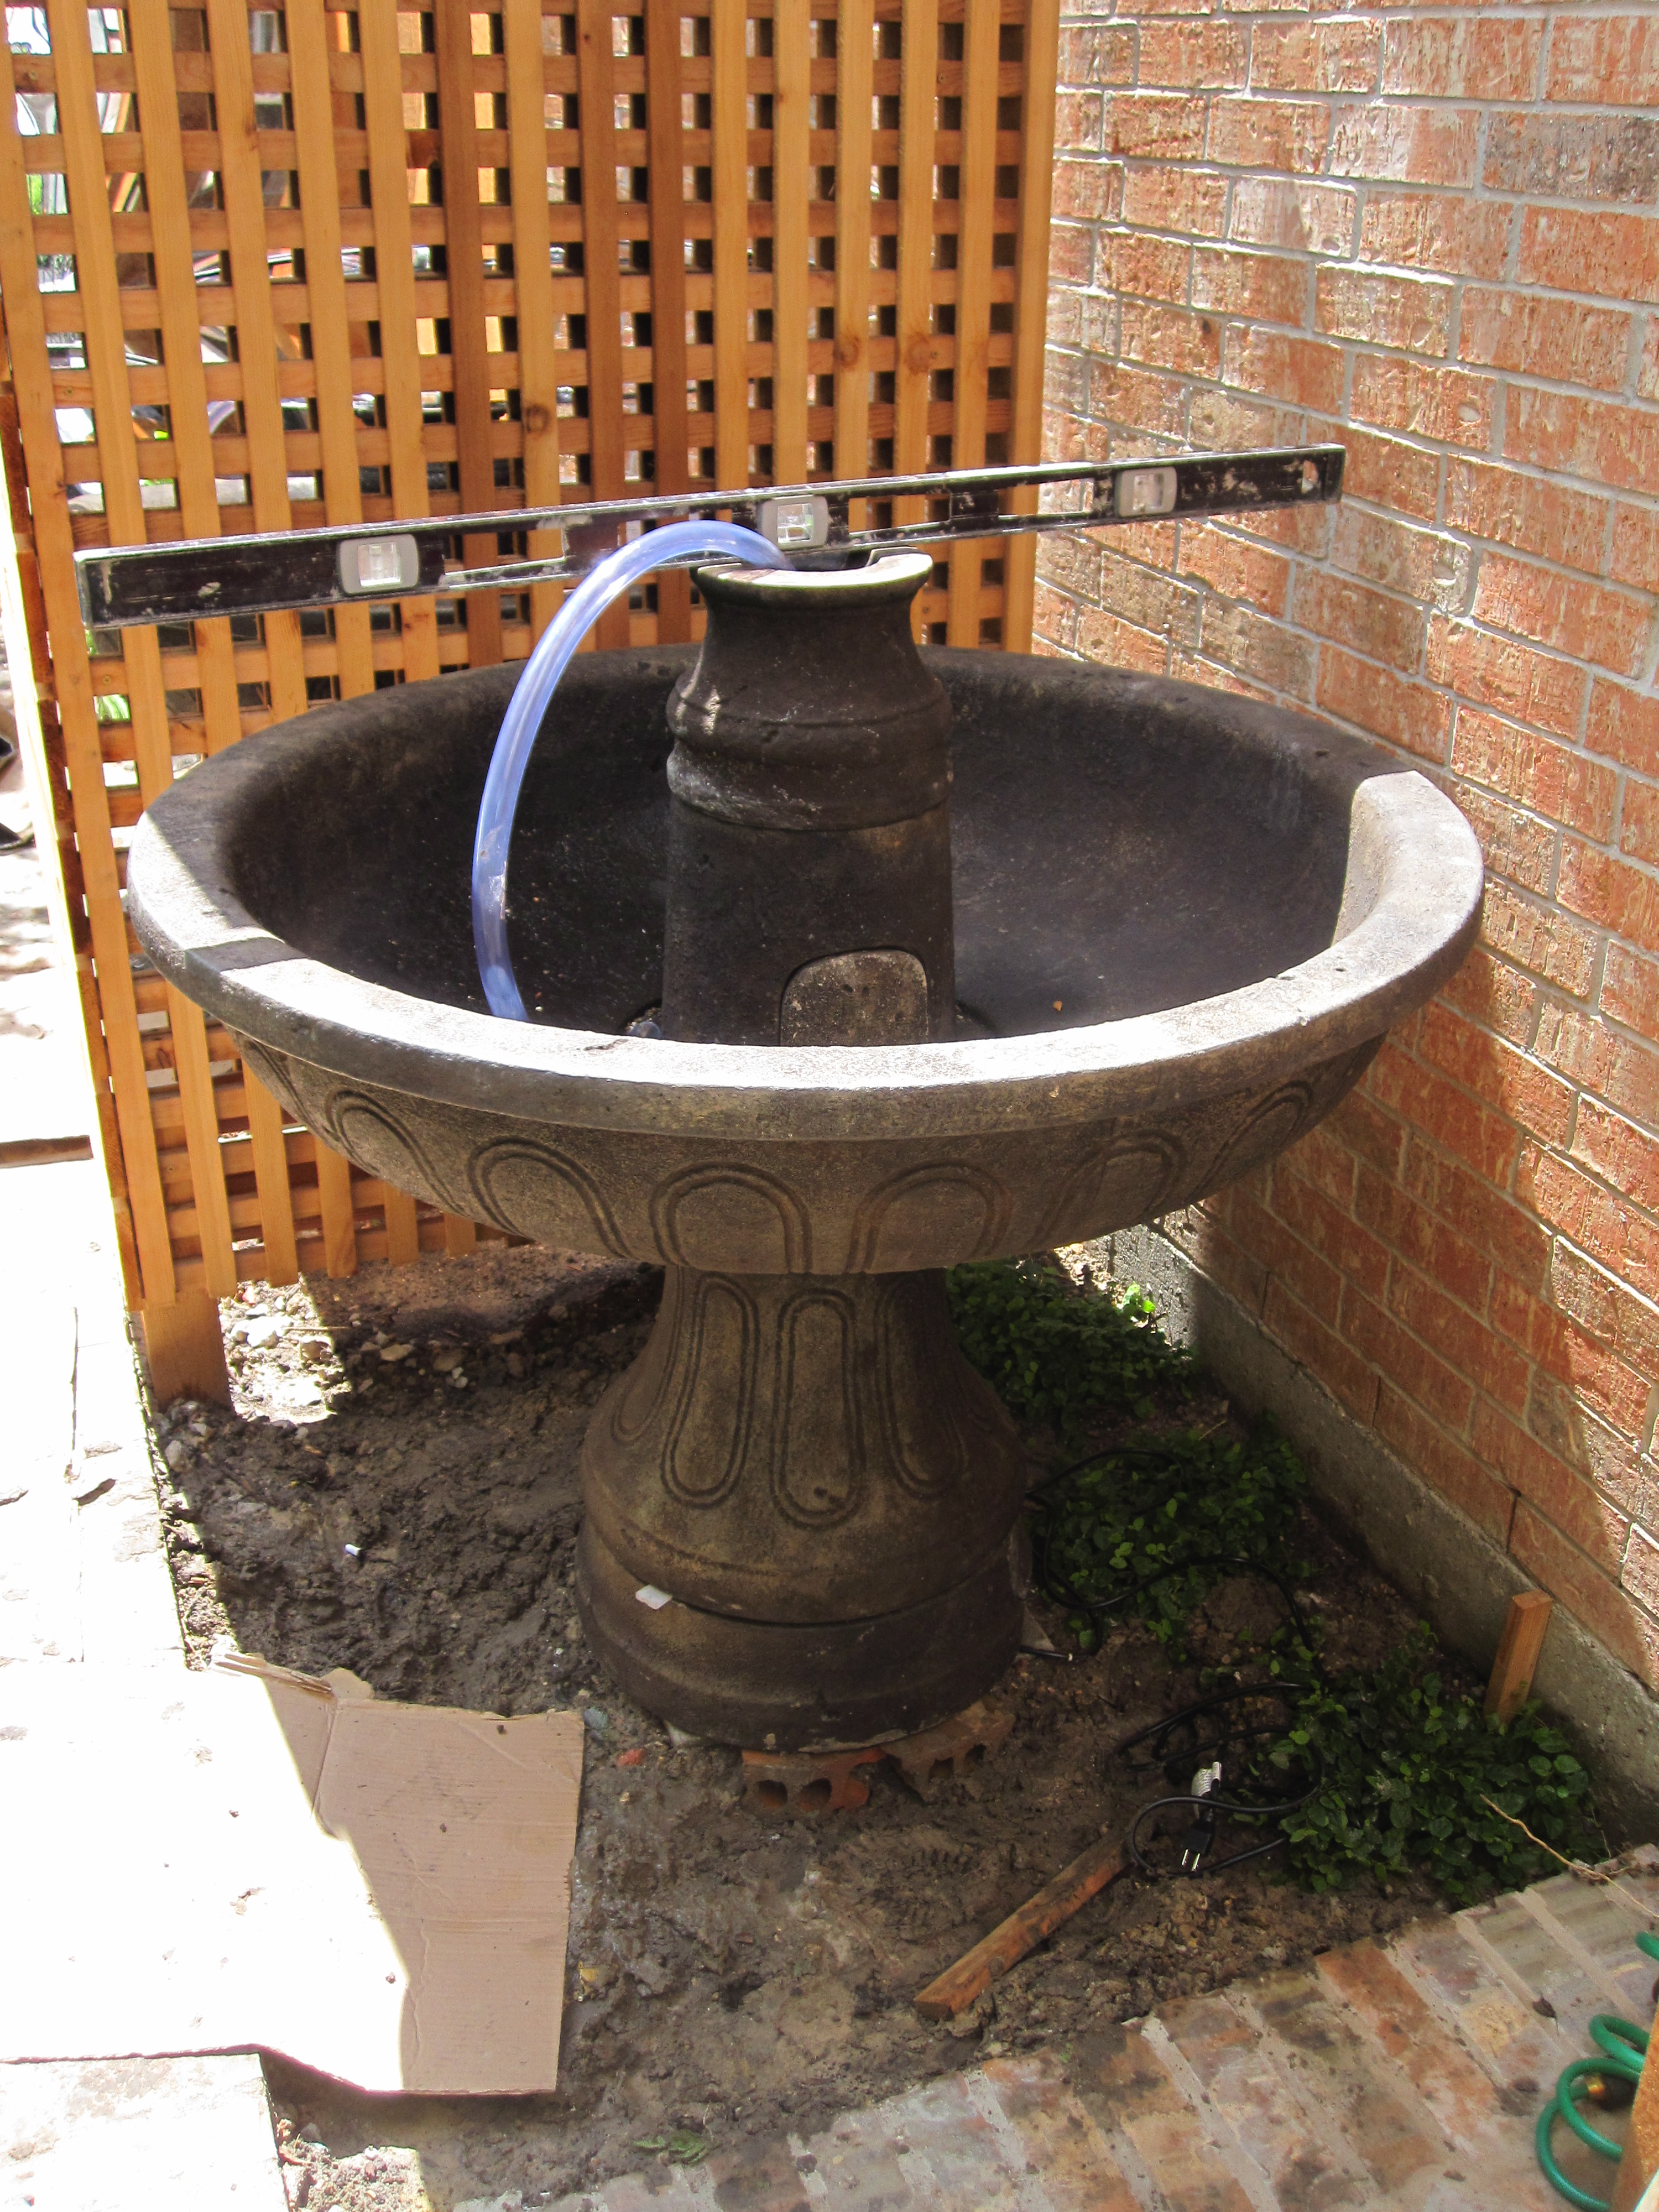
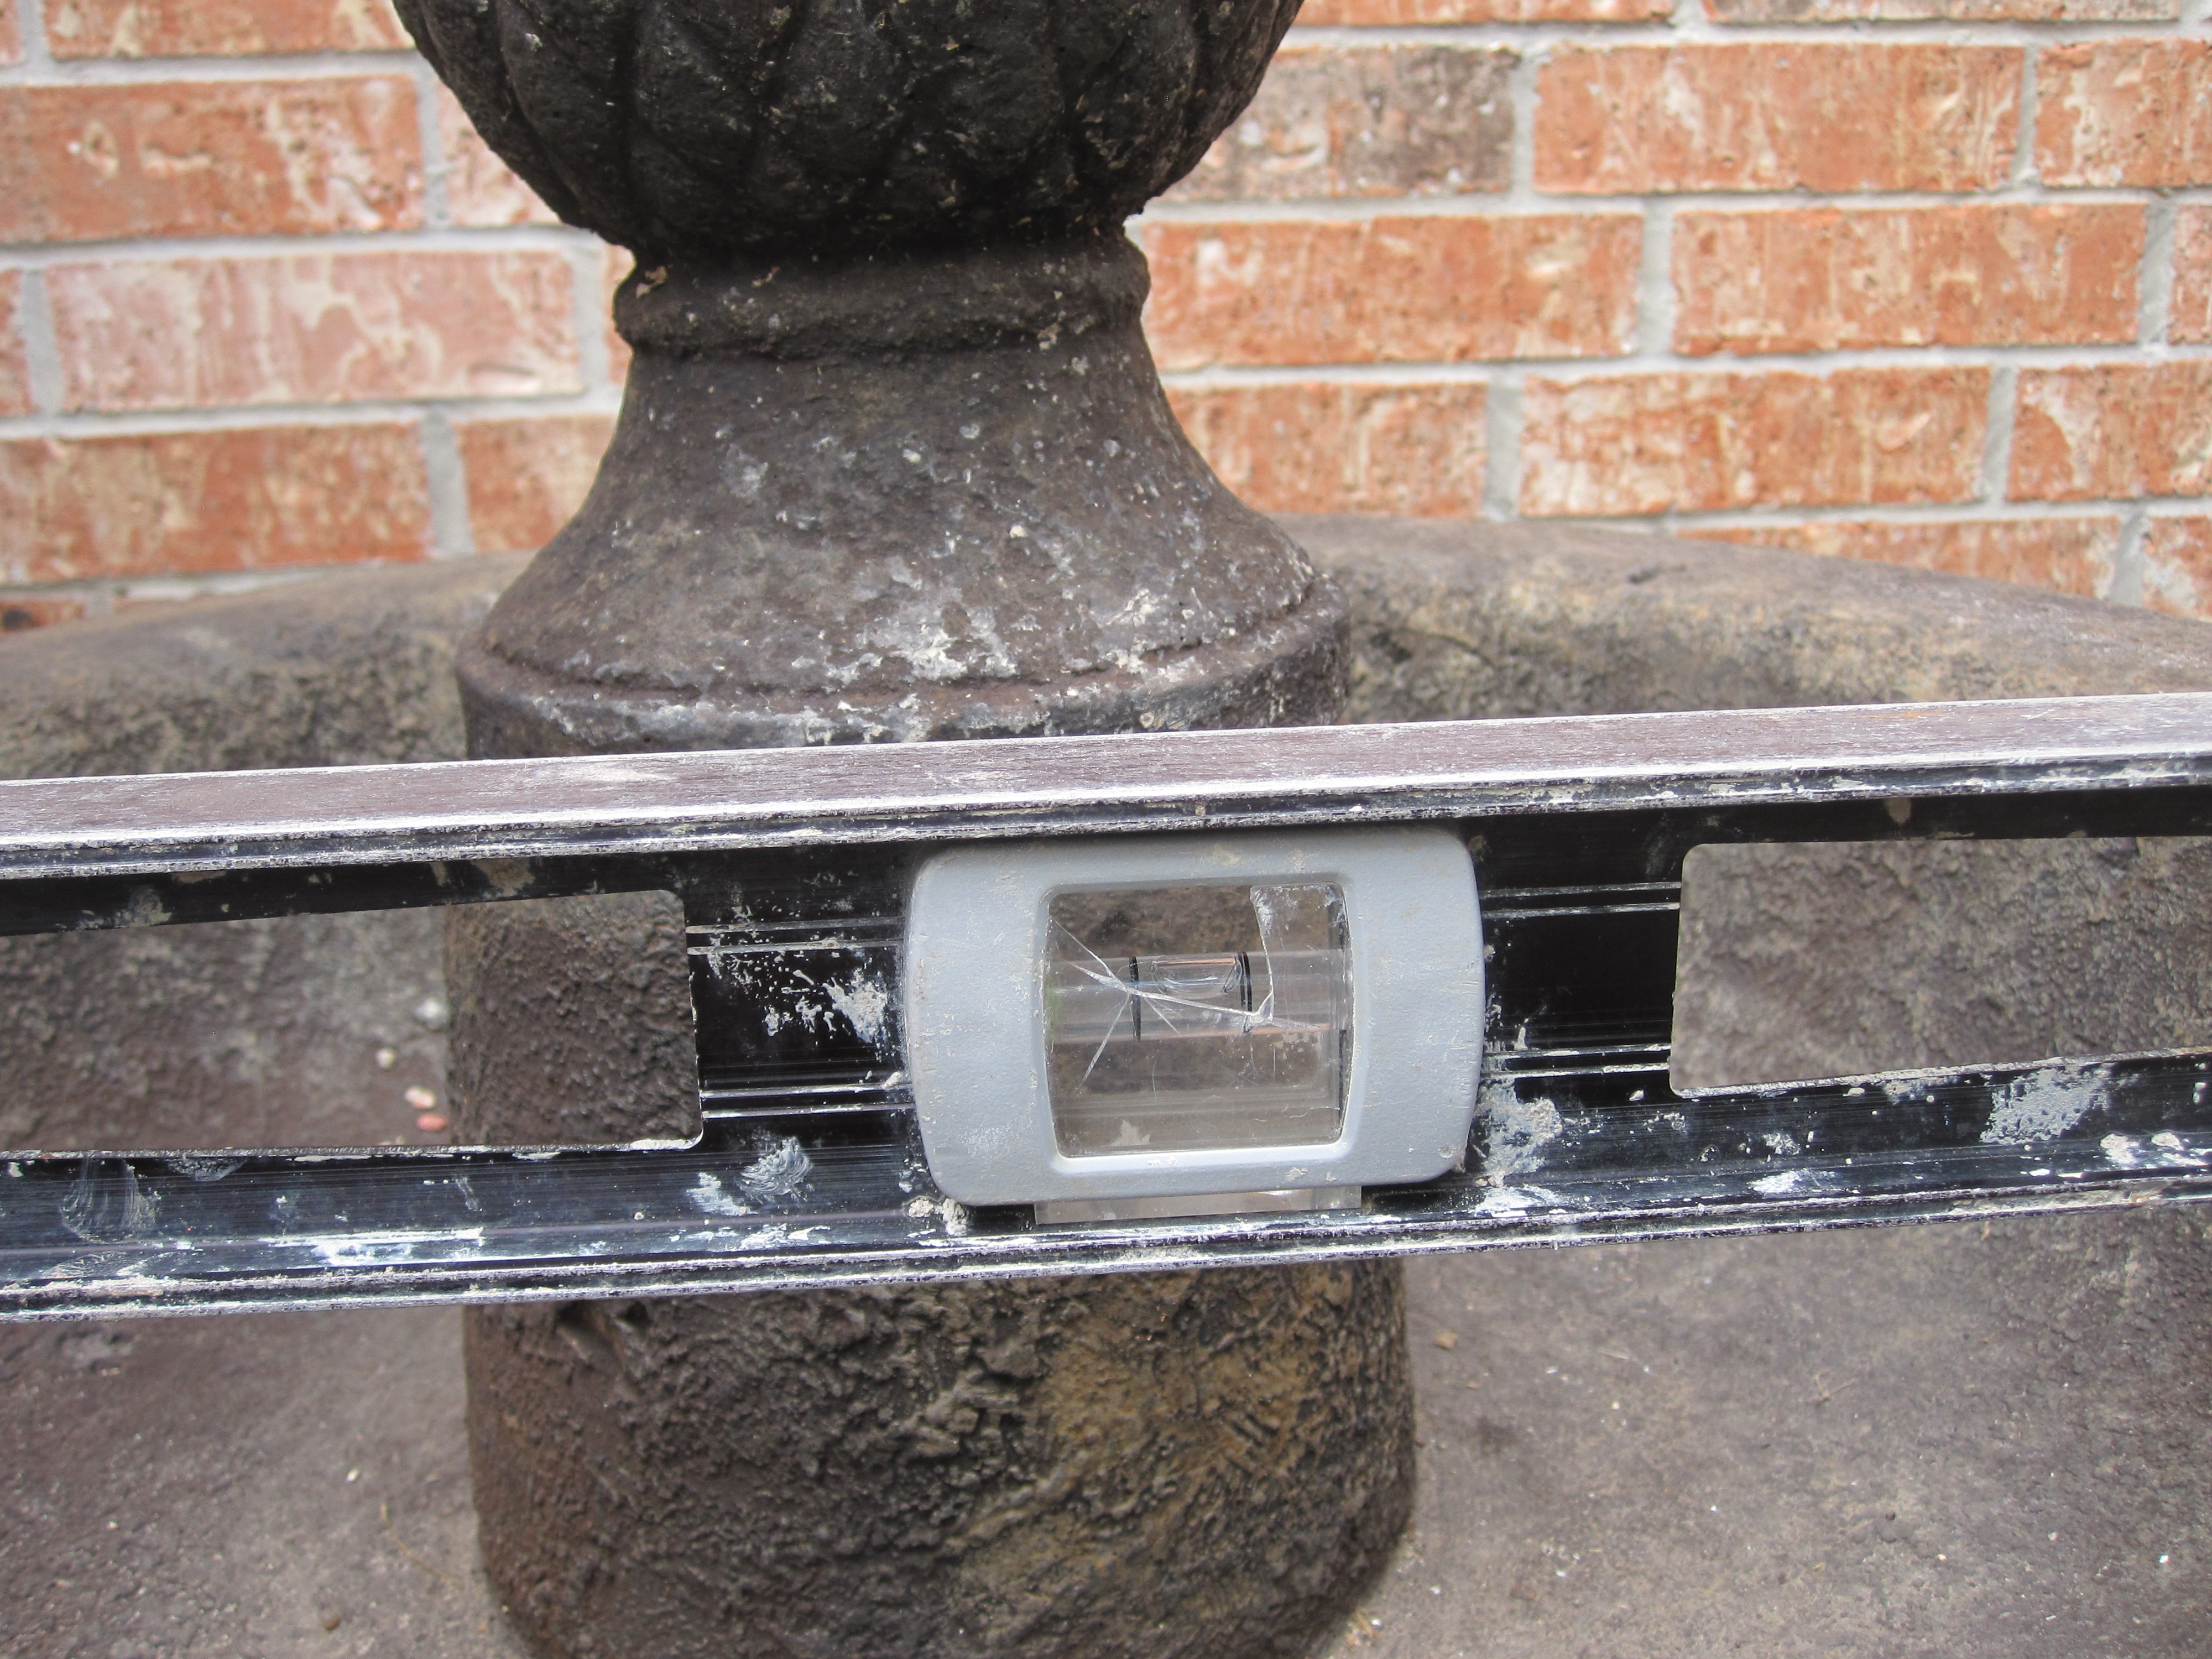
Leveling the bowl
With each section we check for level, using shims where we need to. Unlike the first tier, where the white of the shim is visible, on subsequent levels we prefer to use pennies. Older coins still have copper, which works as a fungicide. Also, they blend away after a month of regular use as a shim. Note that I have the level on the column, and not the bowl. It is important, once again, to make the foundation for the subsequent tier as level as possible. At this stage we installed the pump (the dark line to the right of the fountain is the power line).
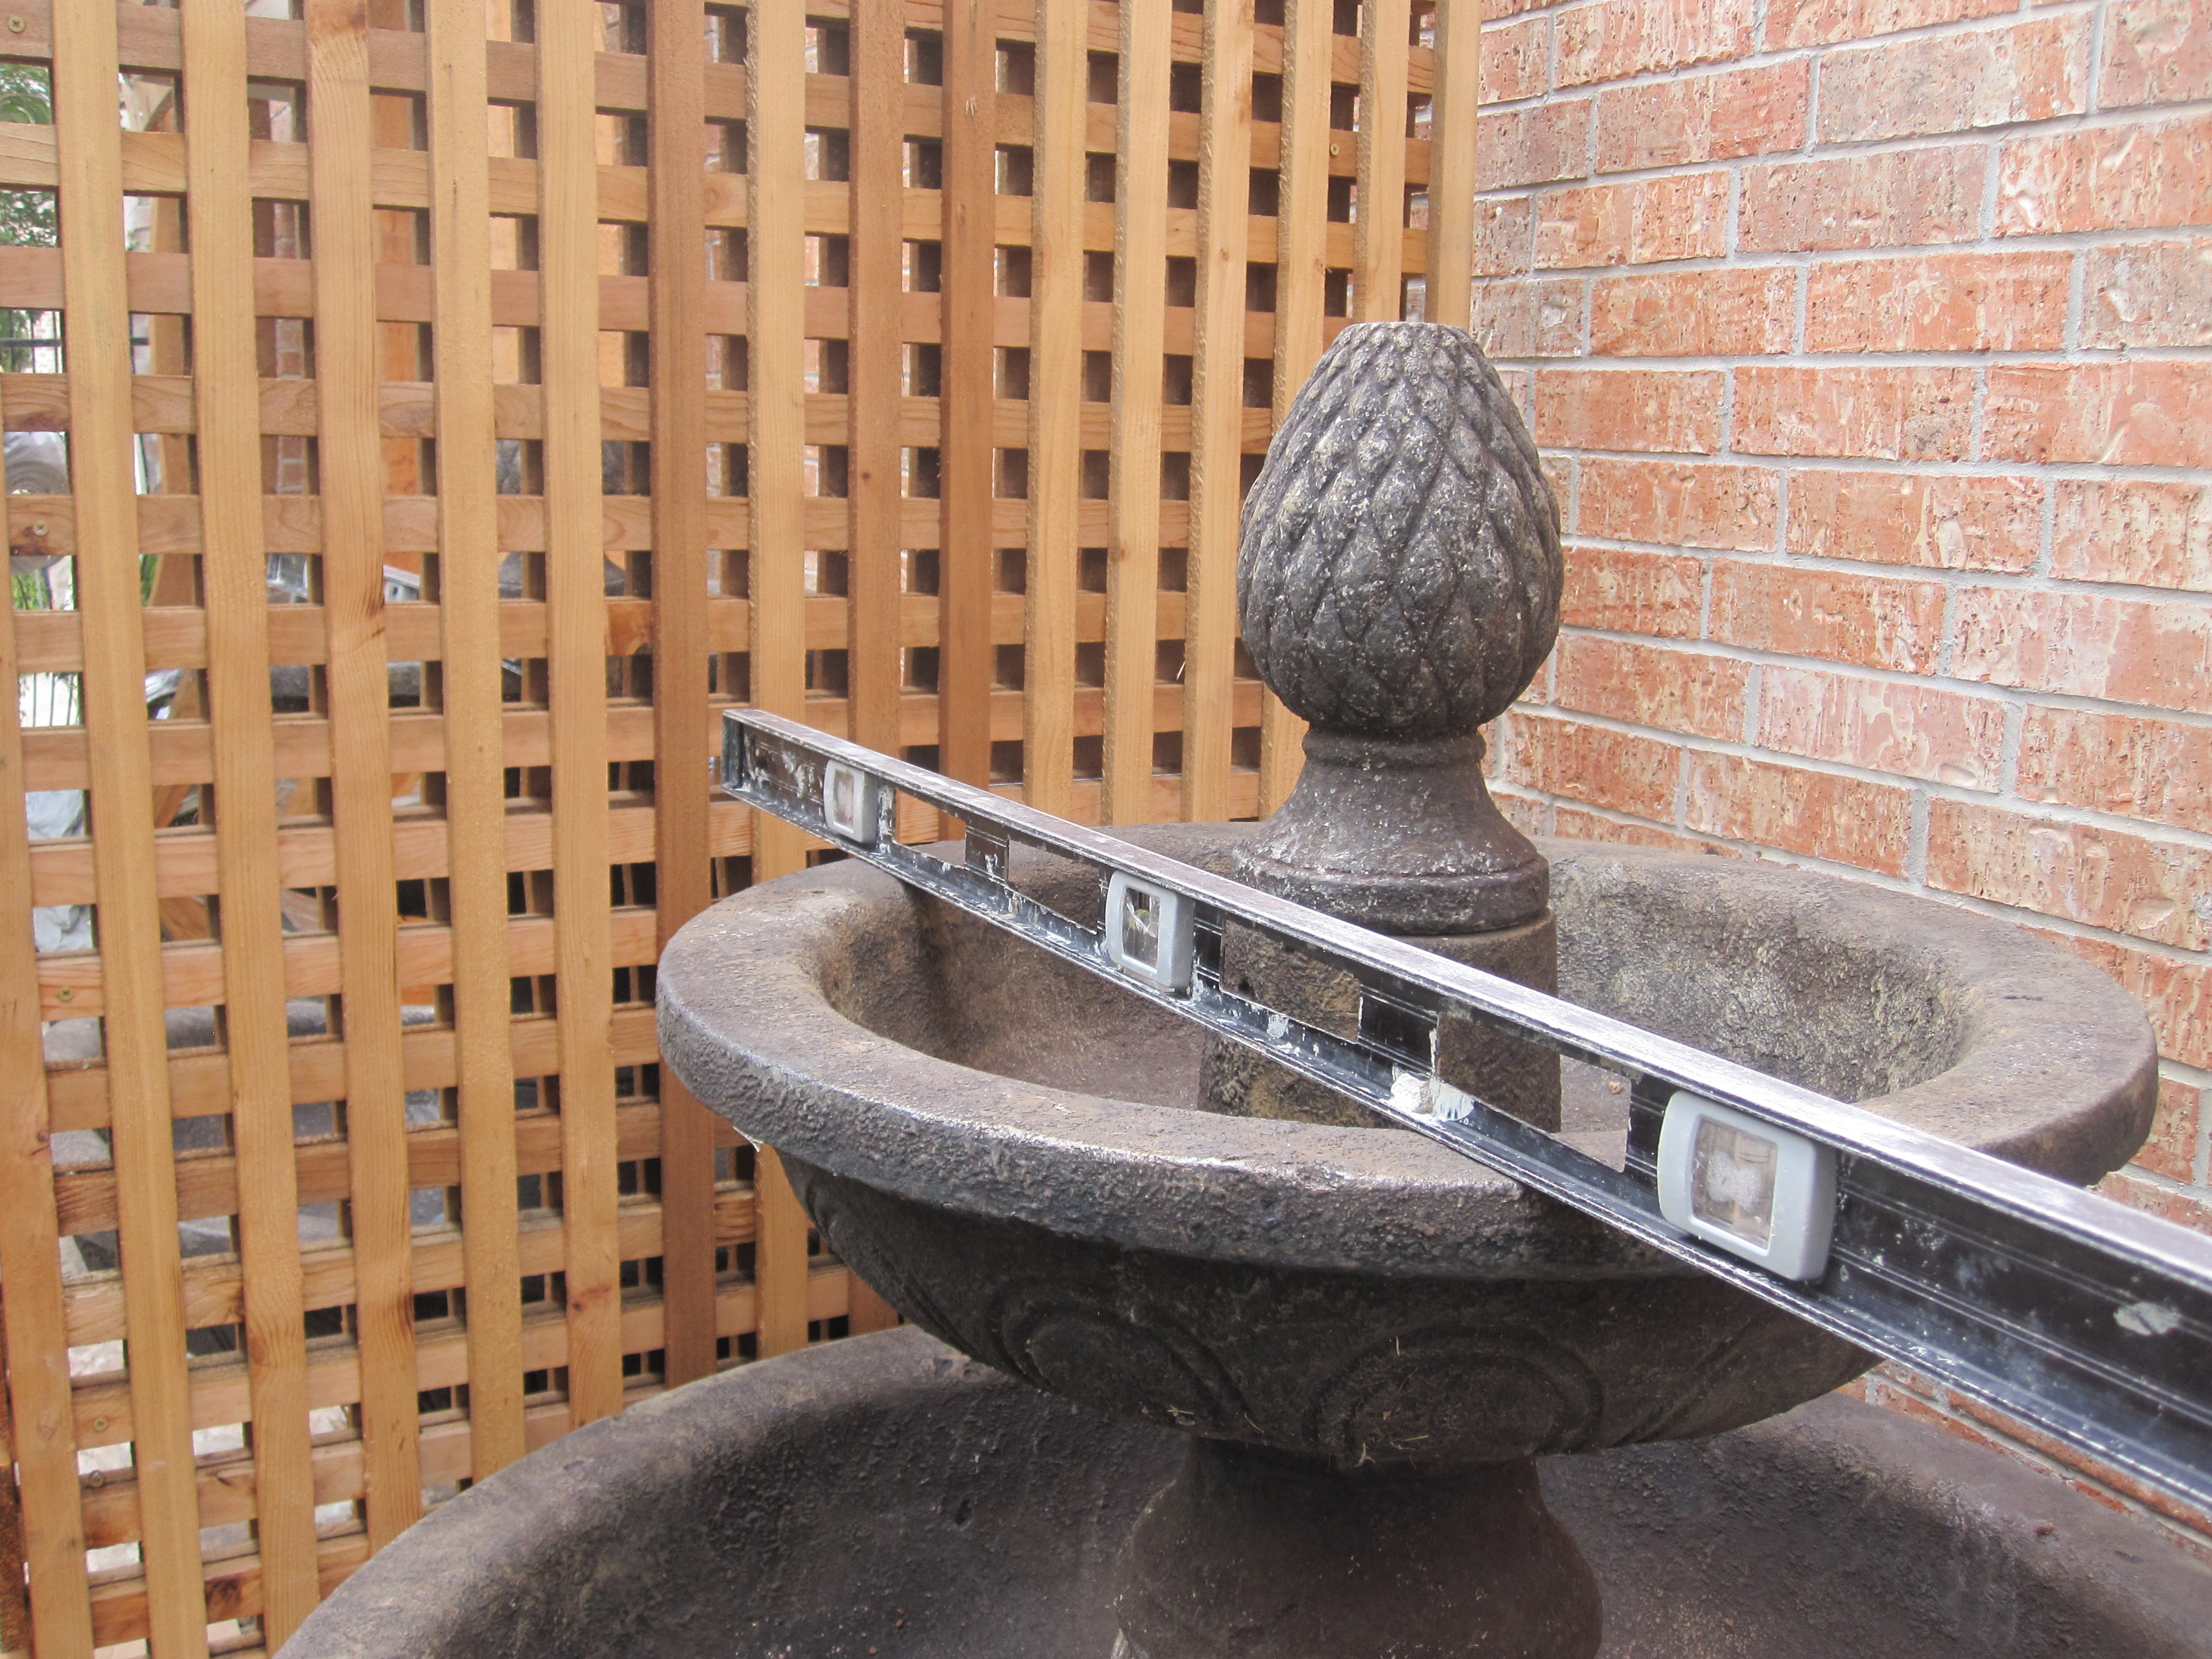
Checking level
Here we are installing the final bowl and make sure that it is level. While it is not as precarious for this level to be out of plum (for the majority of the weight is below) a bowl that is crooked will not shed its water evenly around.
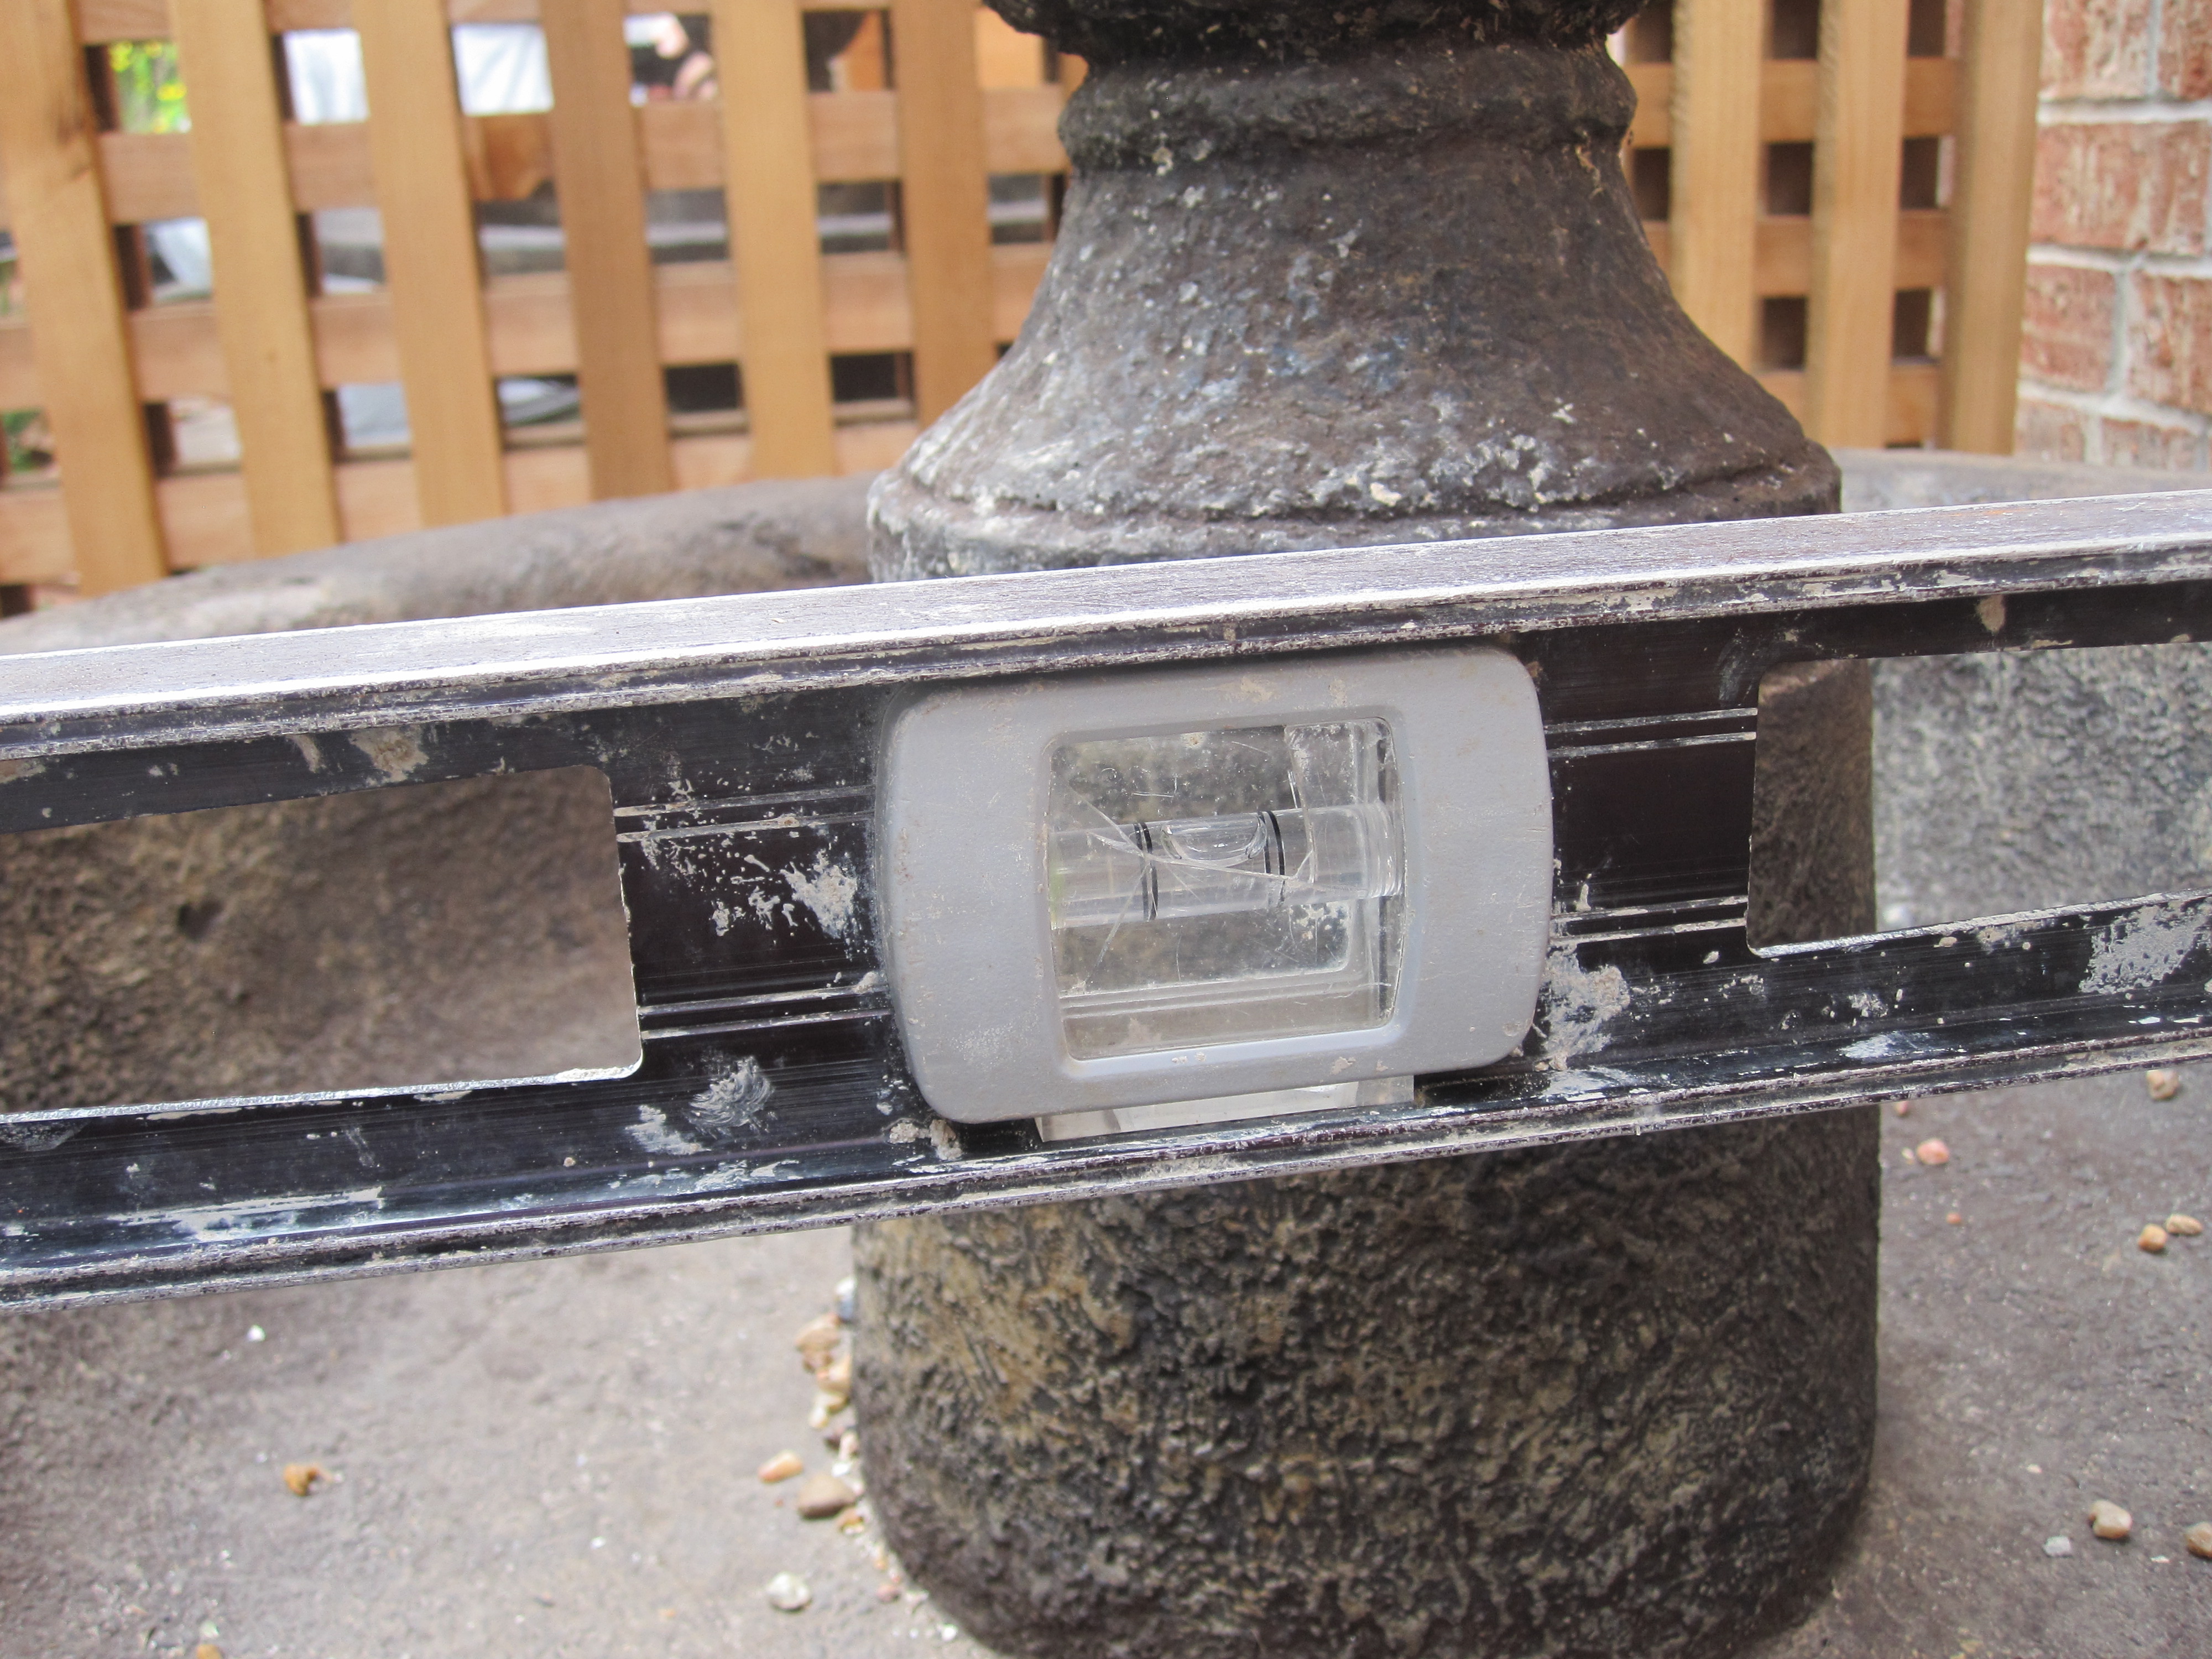
Check level in all directions
When checking the level it is helpful to make sure that you check it across multiple axis.
Leveling top bowl
Imperfections in manufacturing will happen. Often slight changes in the pitch will give the desired effect. When in doubt incline towards the side most likely to be viewed.
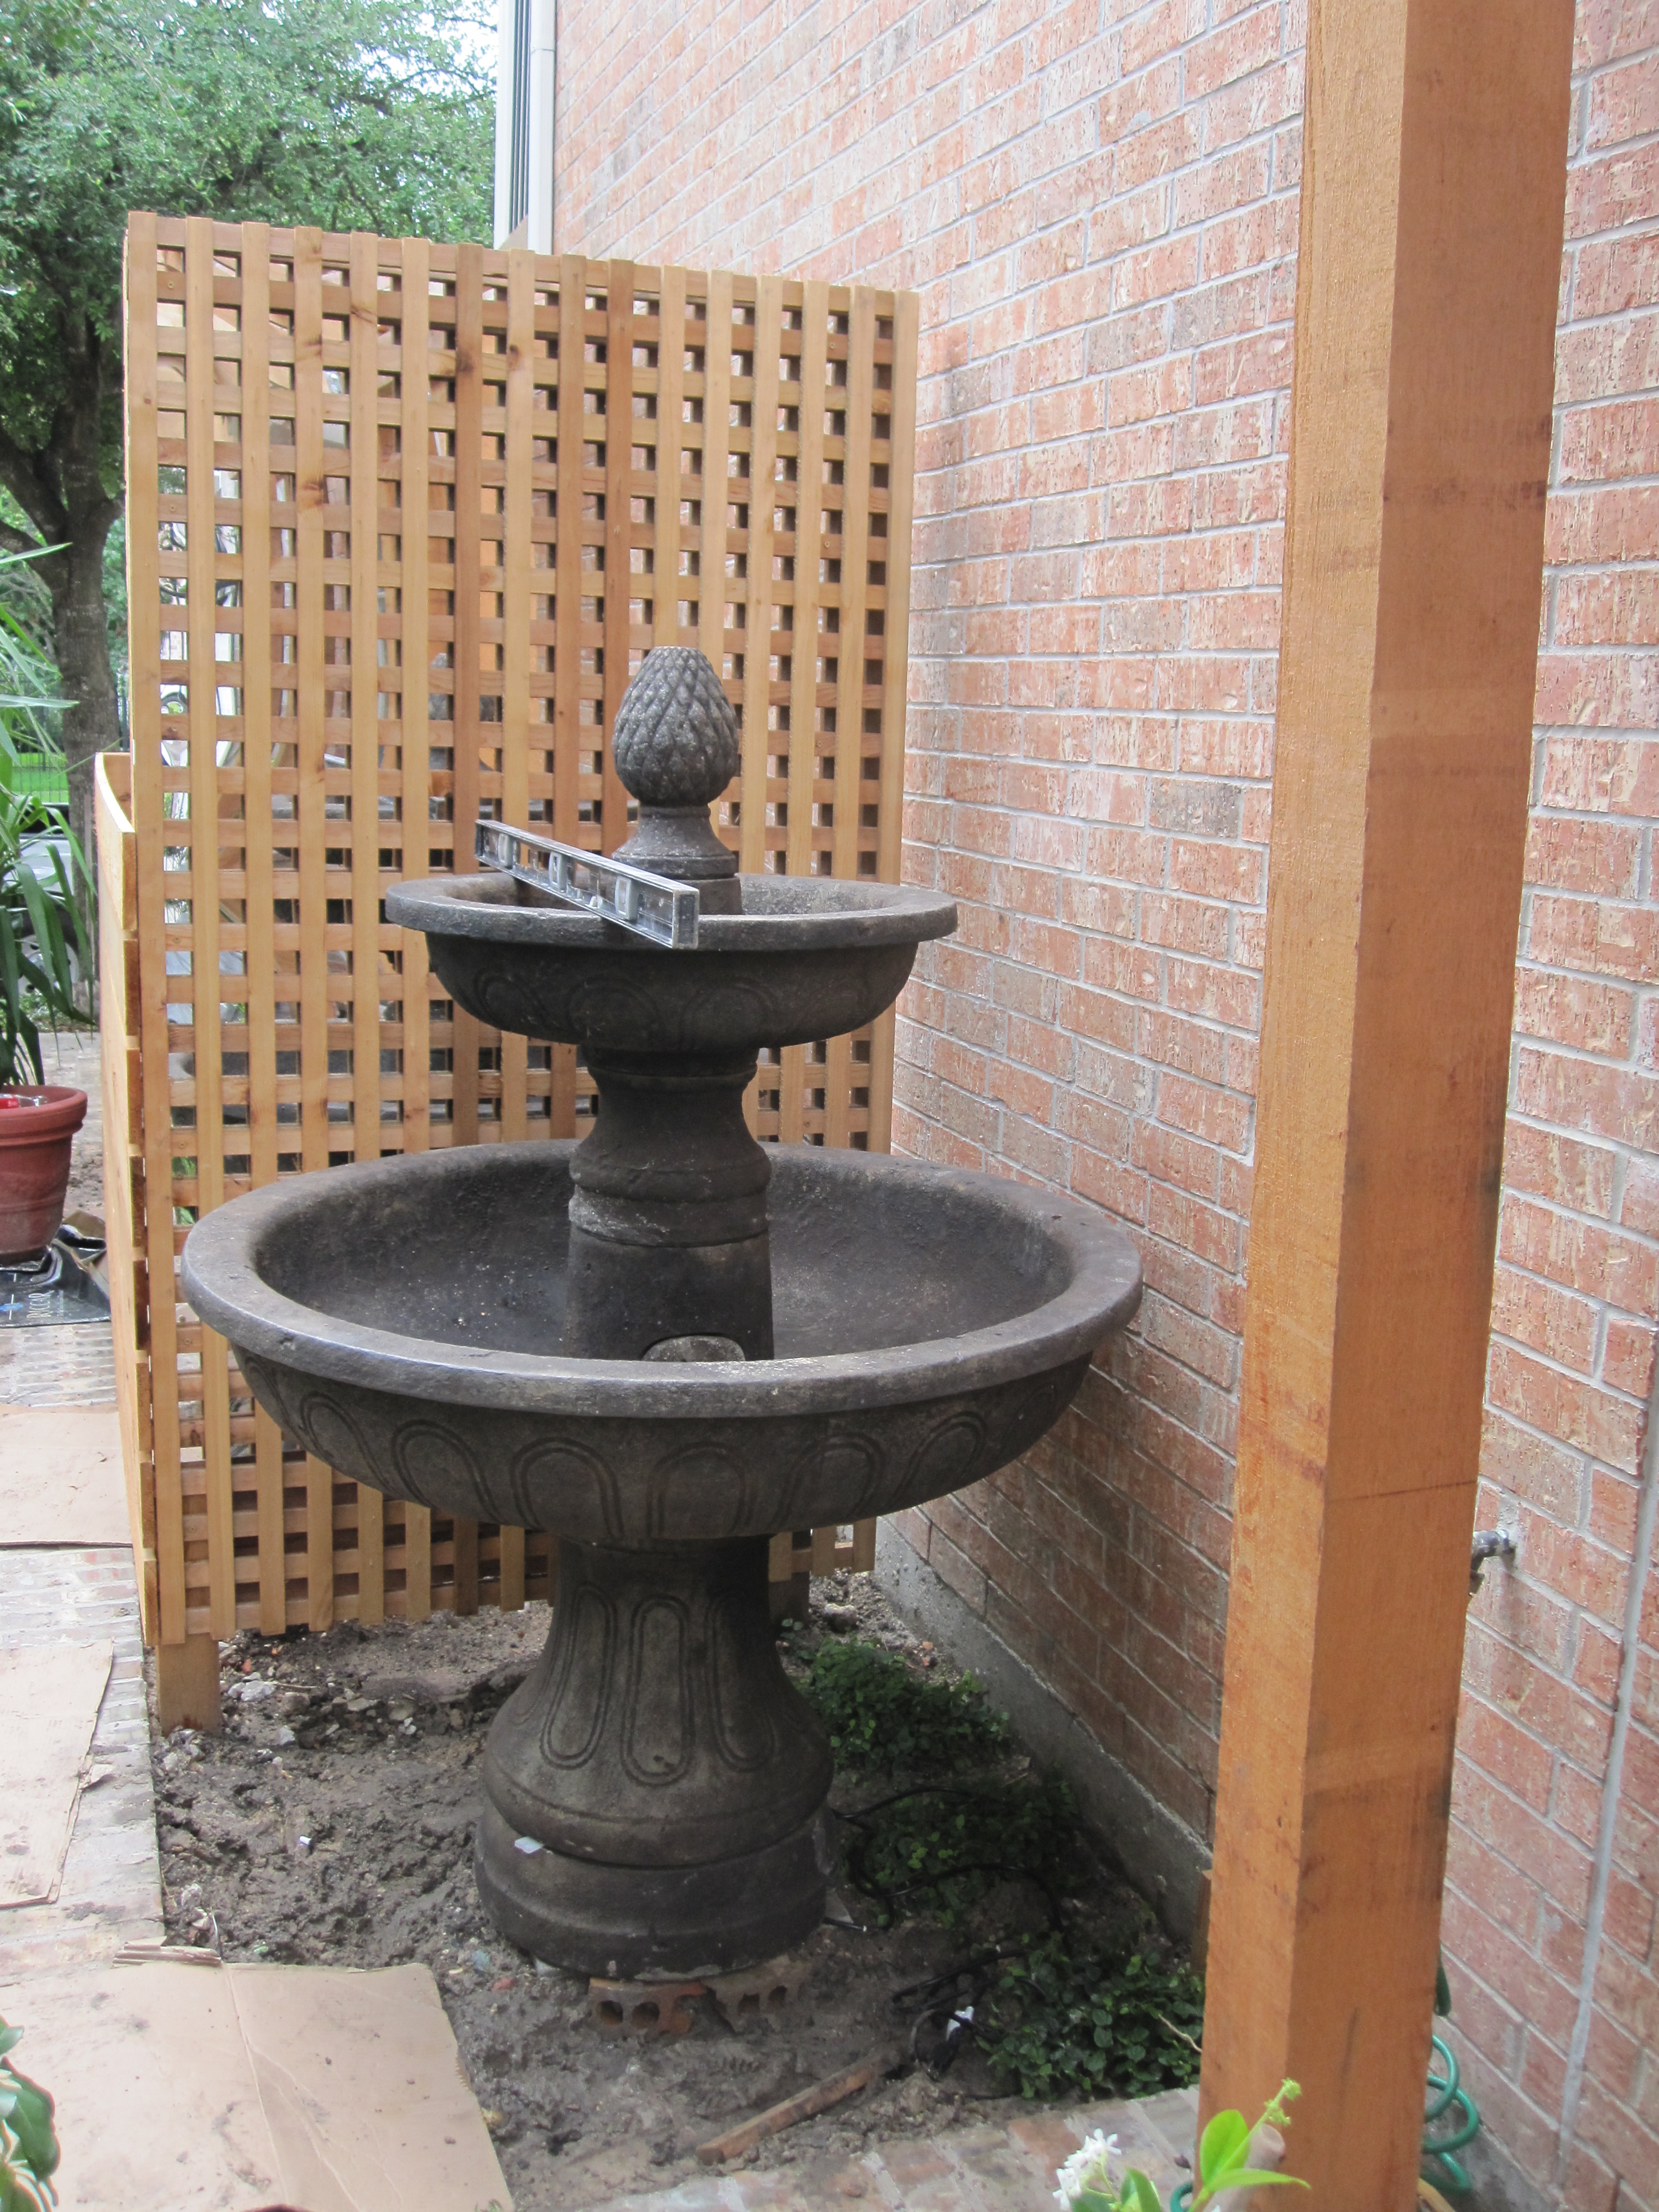
Top bowl installed and leveled
We selected this fountain to give an old worlds look to the courtyard. Fig ivy will be planted behind it and allowed to climb up the wall and on to the screen to soften the hard edges. There is a sense of depth behind the screen which actually doesn’t exist because it is actually backed with a mirror (which is difficult to capture in photographs). Much better than looking at the a/c units behind. The bed is just large enough to encompass the fountain between the house, the screen and the path.
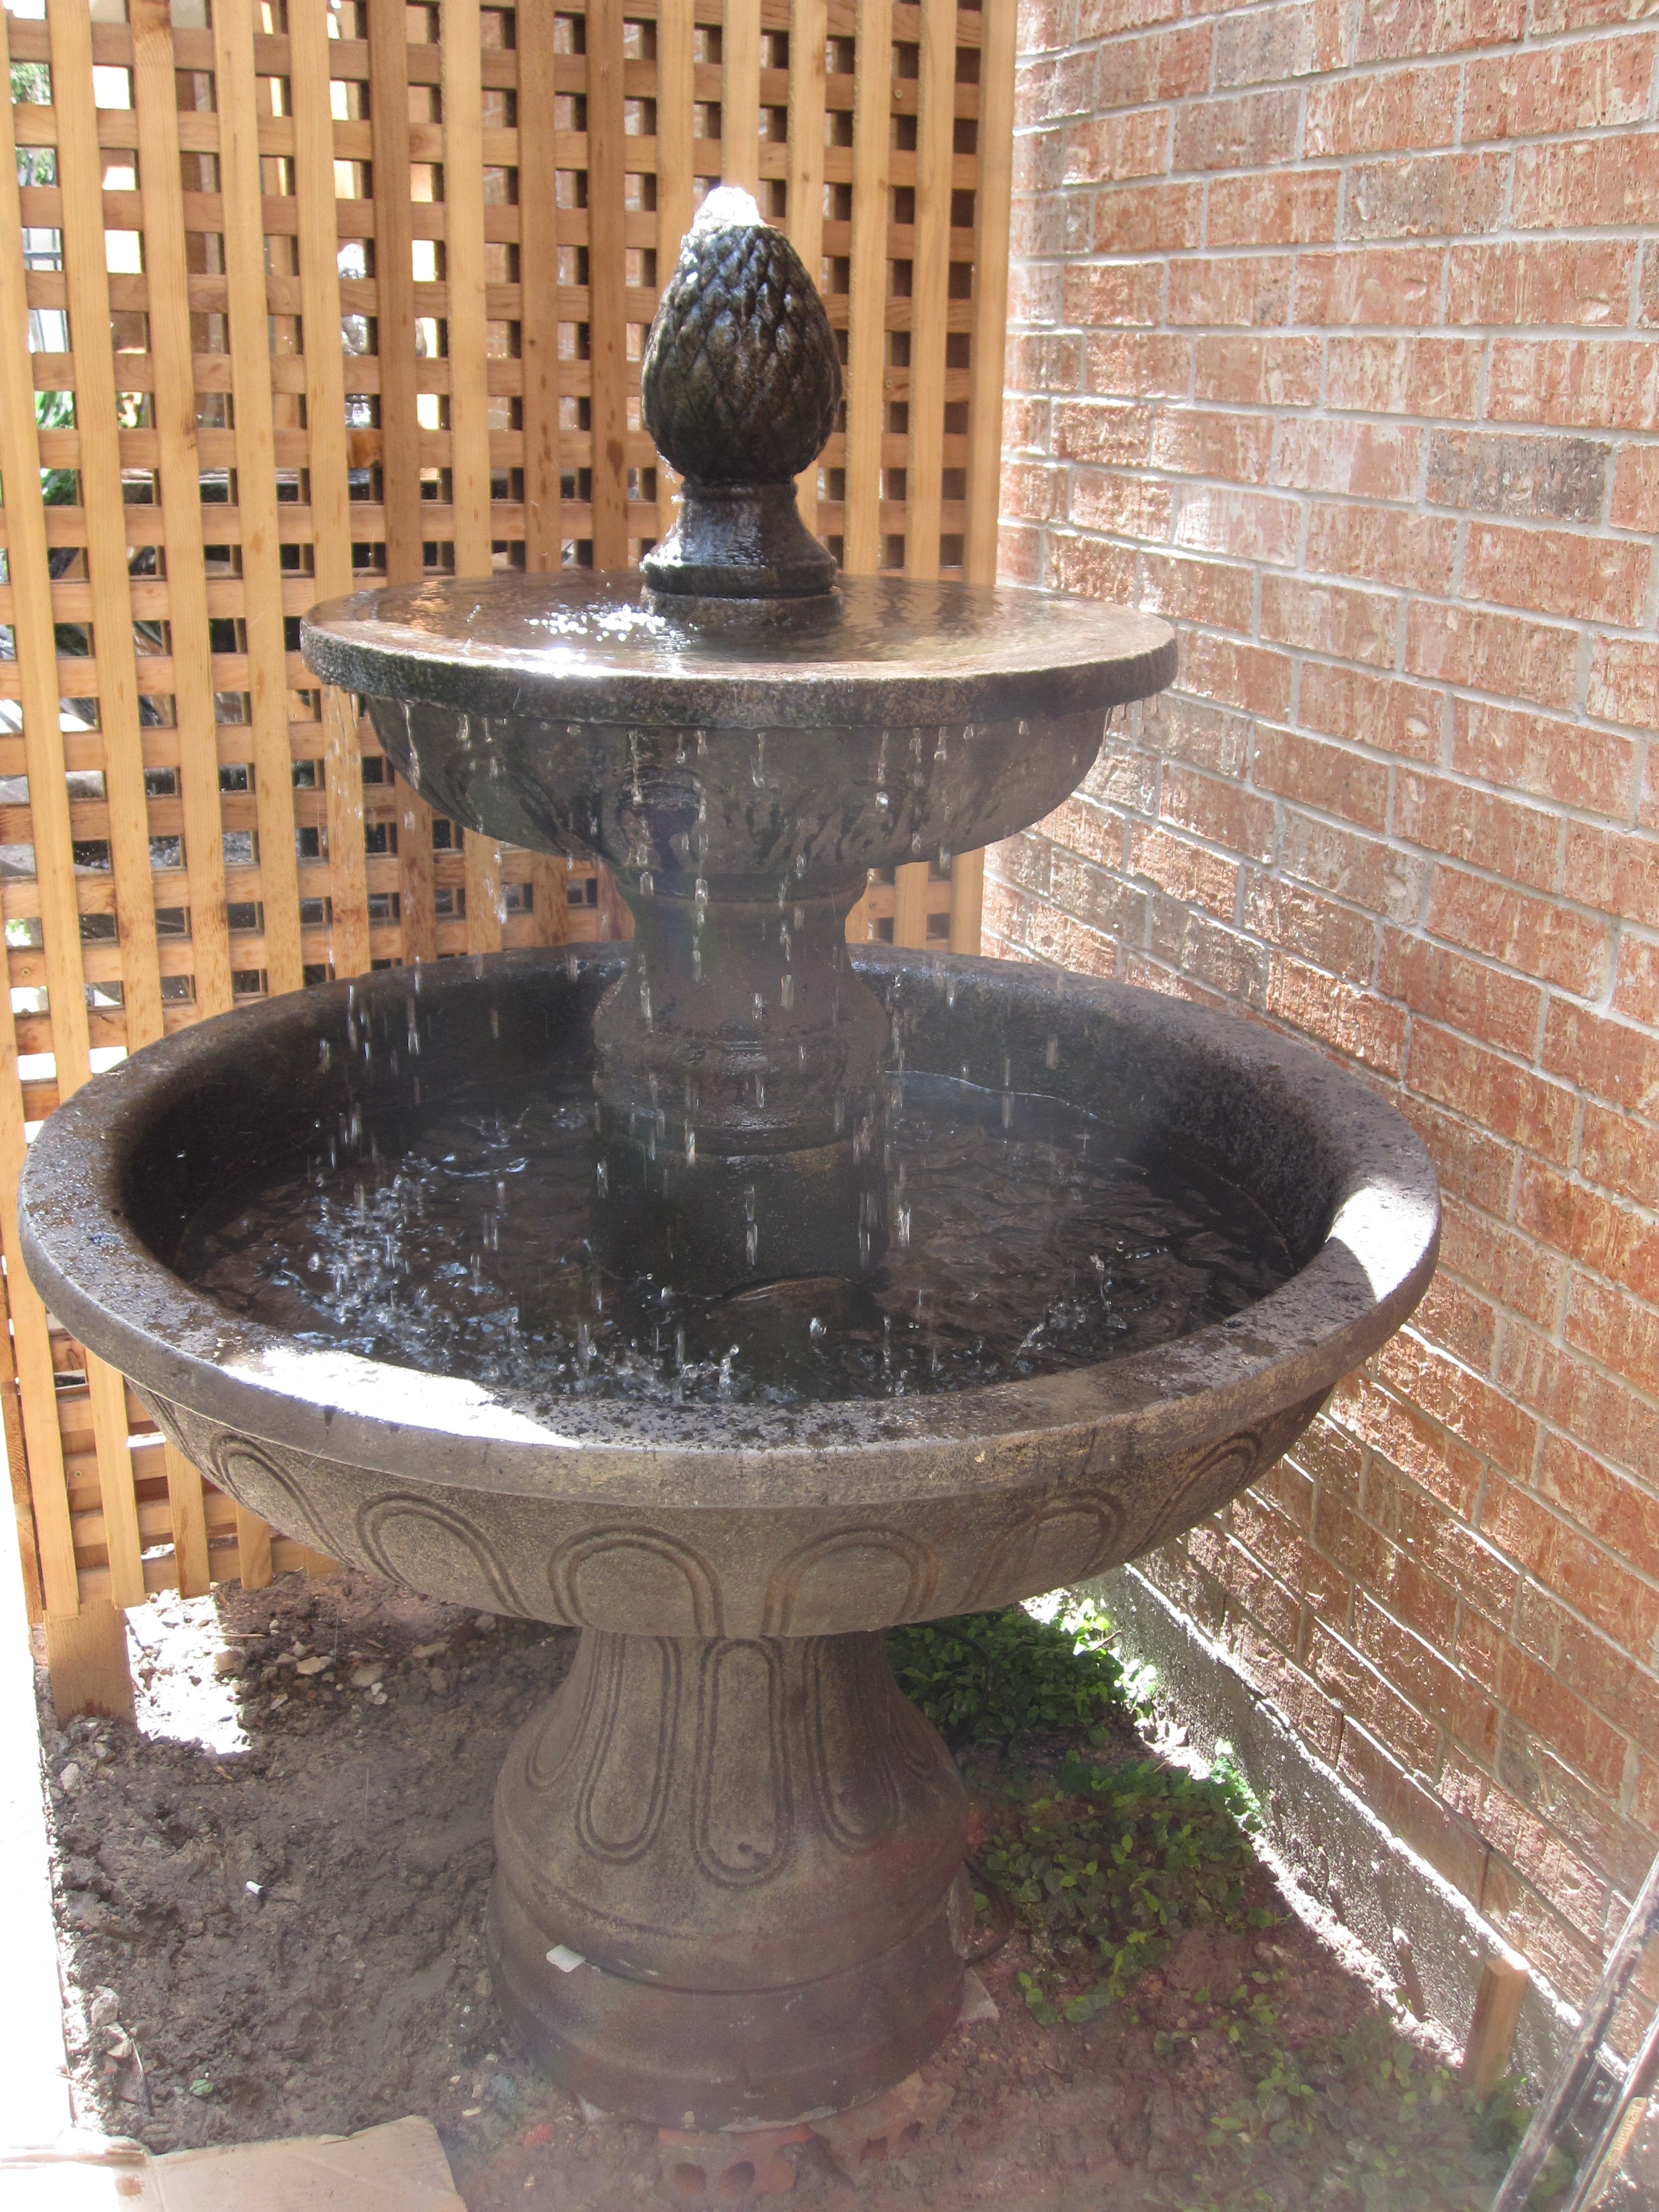
Testing level
Before we leave the project for the day I like to power up the pump and re-check my levels. The water cascades nicely off of the top bowl and the pump is running strong.
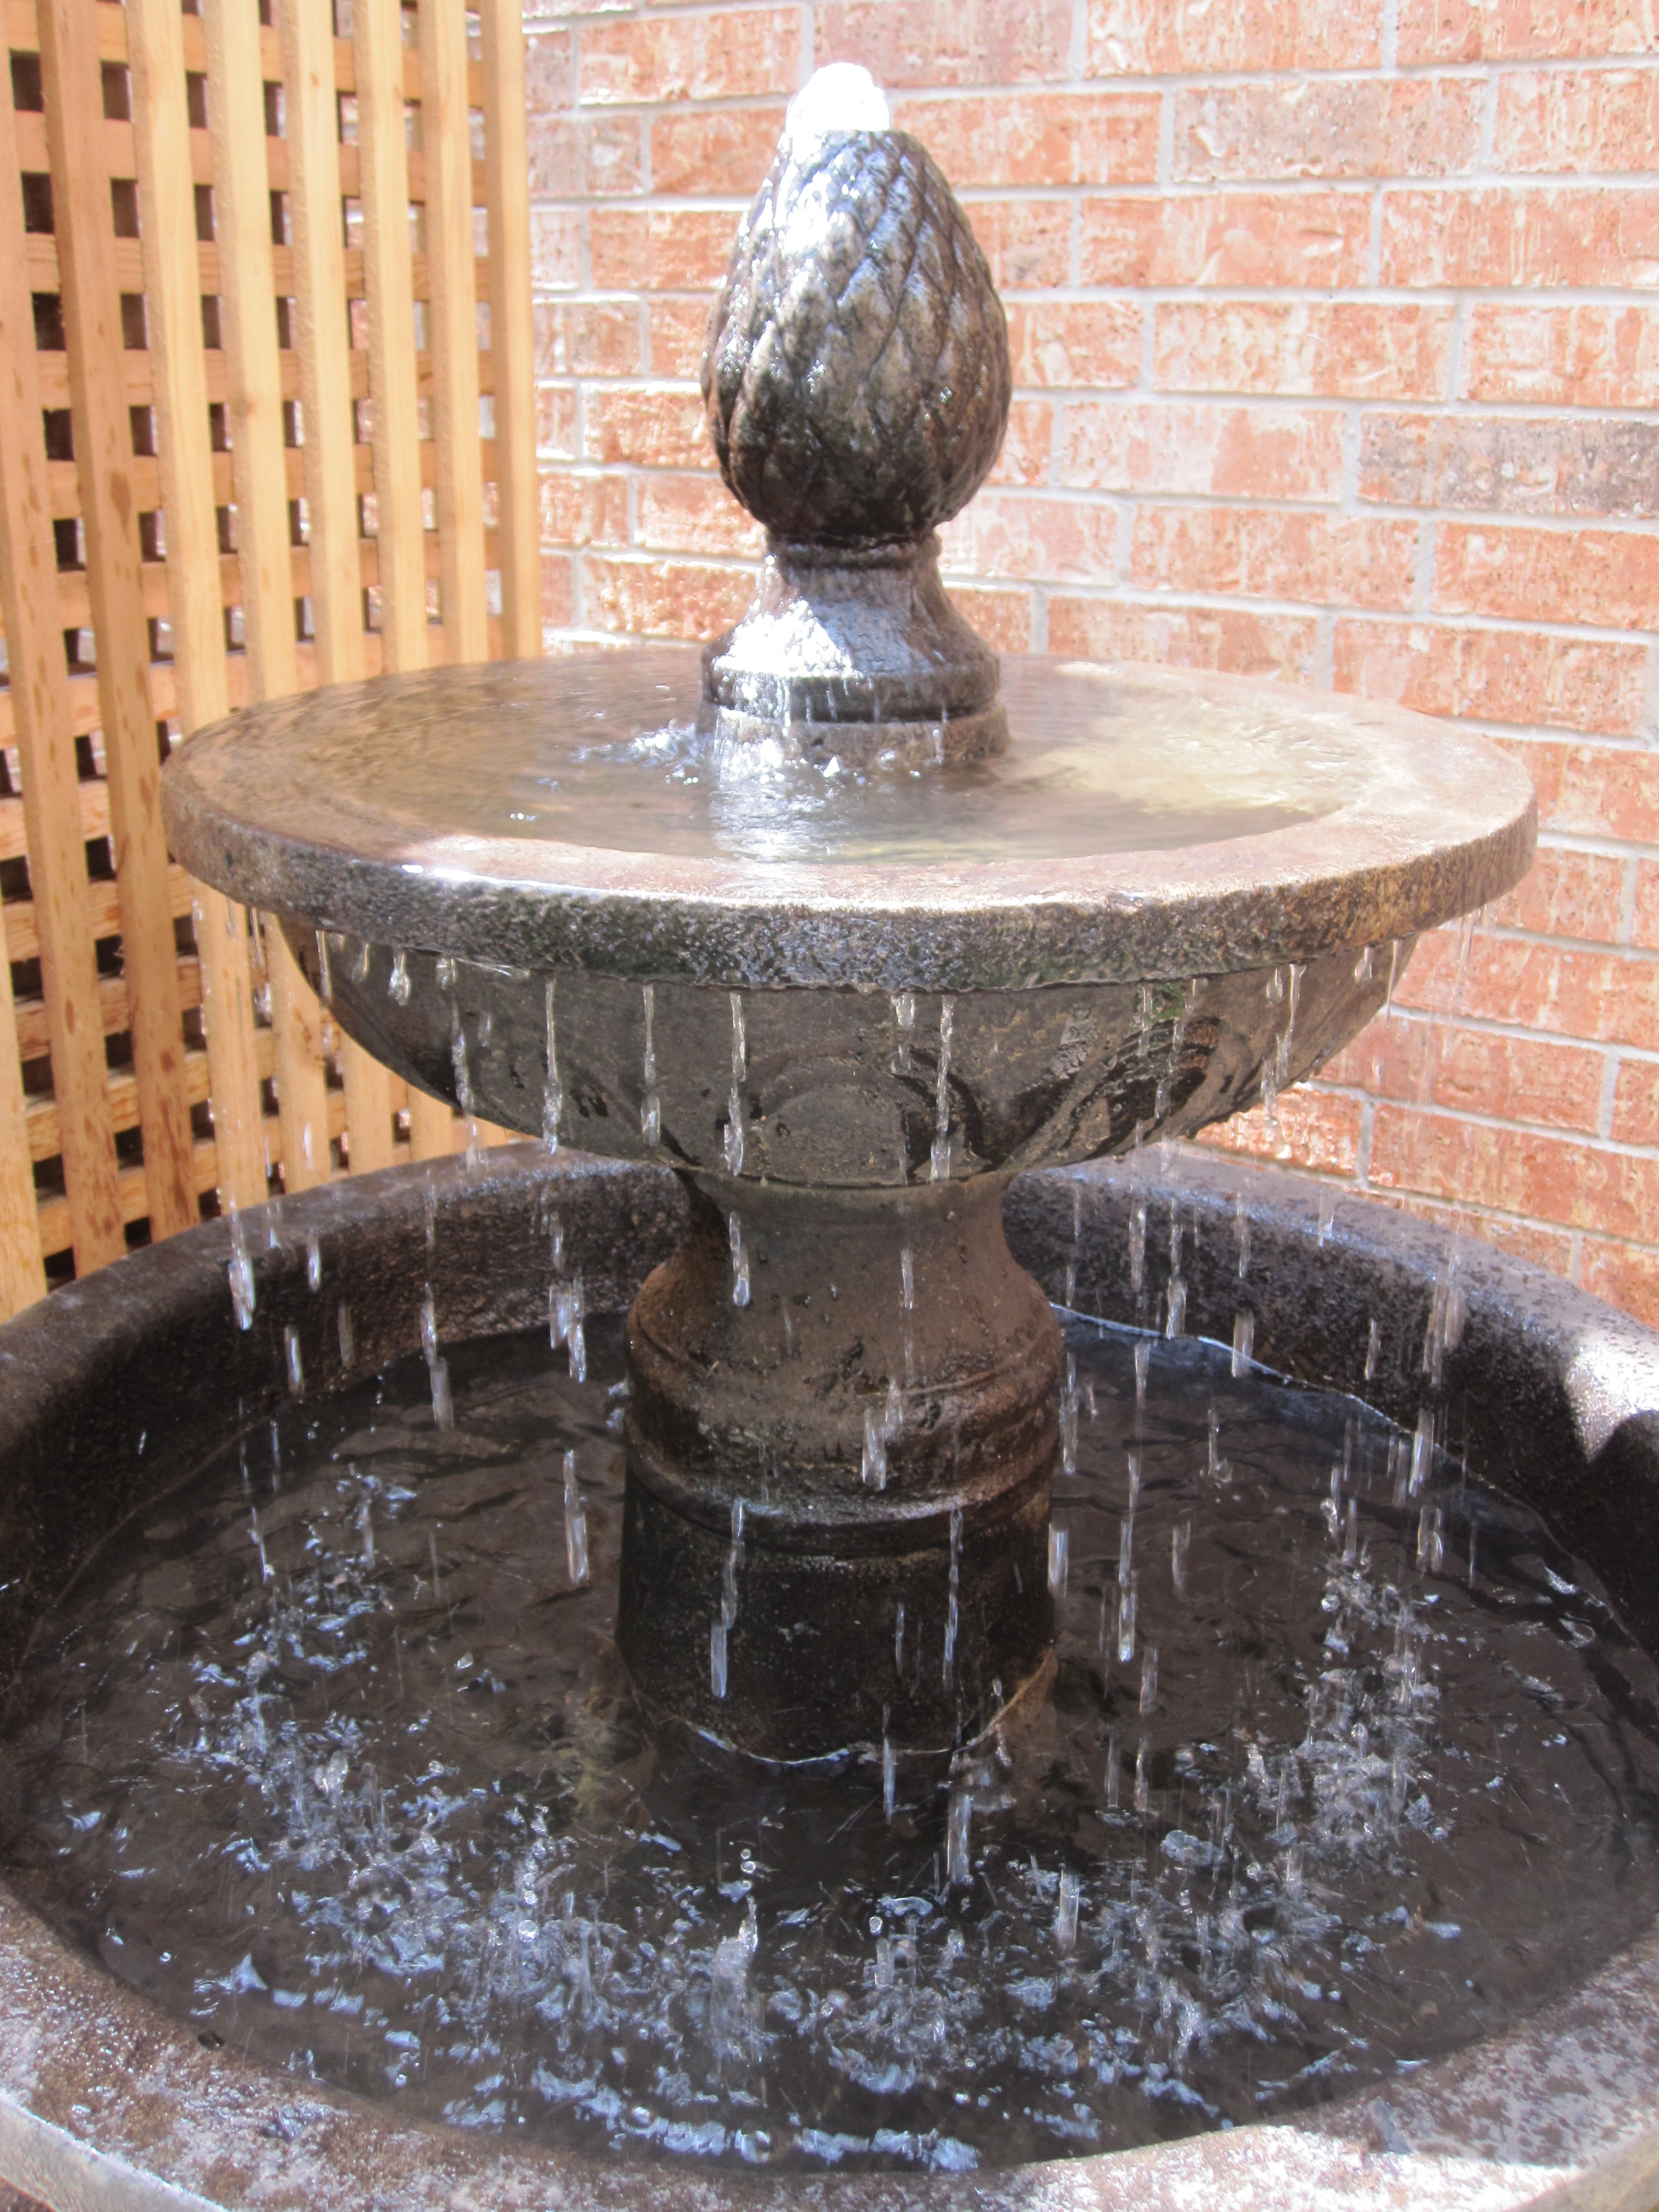
The water is following out evenly all the way around.
Every tiered fountain will splash, and this one is no exception. The plants, or the environment around, must be able to accommodate this. The ferns, irises and fig ivy we will plant, will be happy with the extra moisture.
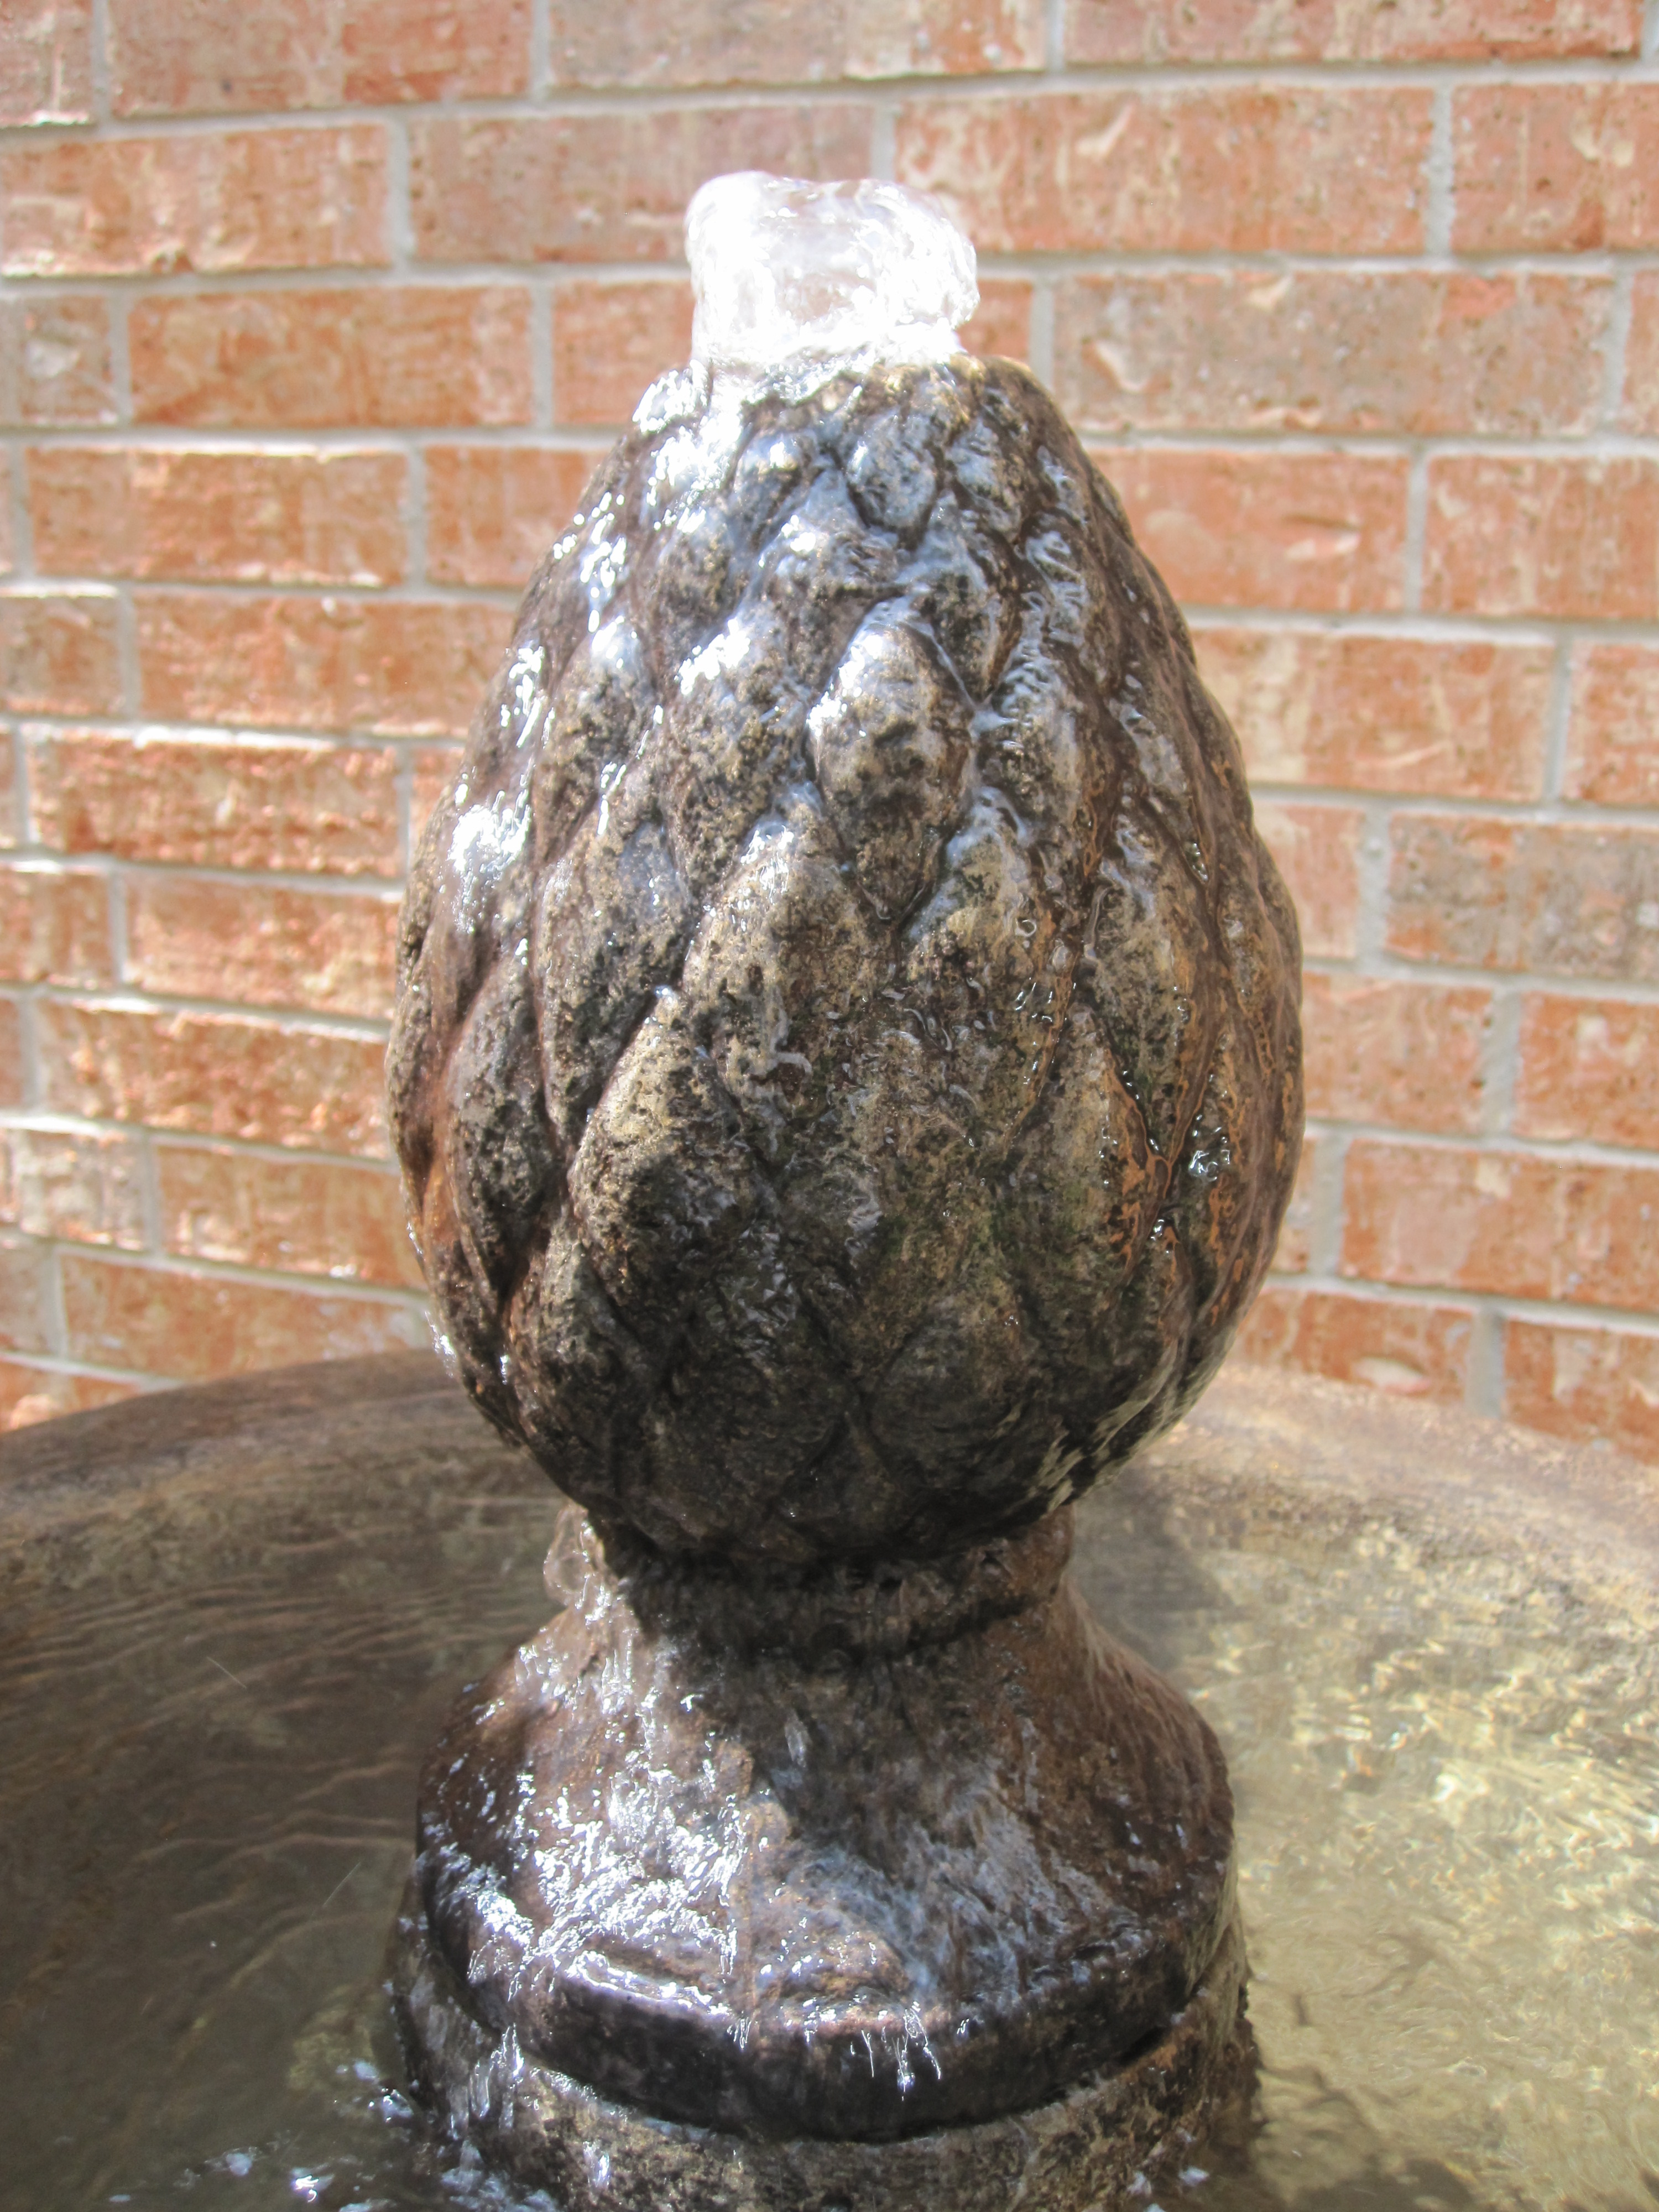
Pineapple finial
The sound of running water is very soothing and this fountain is a pleasurable addition to this garden and will be enjoyed while sitting on the patio.
Thank you Shawn Michael for the great photos and description of how to install a tiered cement fountain!
We will have a follow up post walking through the completed project soon.

Oh gosh! What a great looking fountain. The fig ivy and ferns will be look fantastic. I bet the sound of the water will ease some of the ac noise, too.
LikeLiked by 1 person
Thank you Debra : ) We have a much smaller one in a bed just off our front porch and it really calms me down to hear the water…plus the birds love their fancy bird bath!
LikeLike
Oh! I bet they do. Water is so critical for wildlife. I’ve been scared to install any water feature because we already have so many mosquitoes but moving water would be just the trick.
LikeLike
Pingback: It all comes together! High function in a small space. | Ravenscourt Gardens
Is calling g required in a three tiered fountain?
LikeLike
I don’t understand what you are asking. I can tell you we used an ordinary pump and it worked fine.
LikeLike
I’m about to install a 3-tiered fountain and am a bit worried about stability – do you have any tips for securing it so that if kids or dogs run into the fountain it’s not in danger of falling on them?
LikeLike